
GameBoy game maintenance
Before I start here I would like to make it abundantly clear that this is not a tutorial, I have very little idea what I'm doing, and am probably doing as much harm as good to my games. Would not recommend.
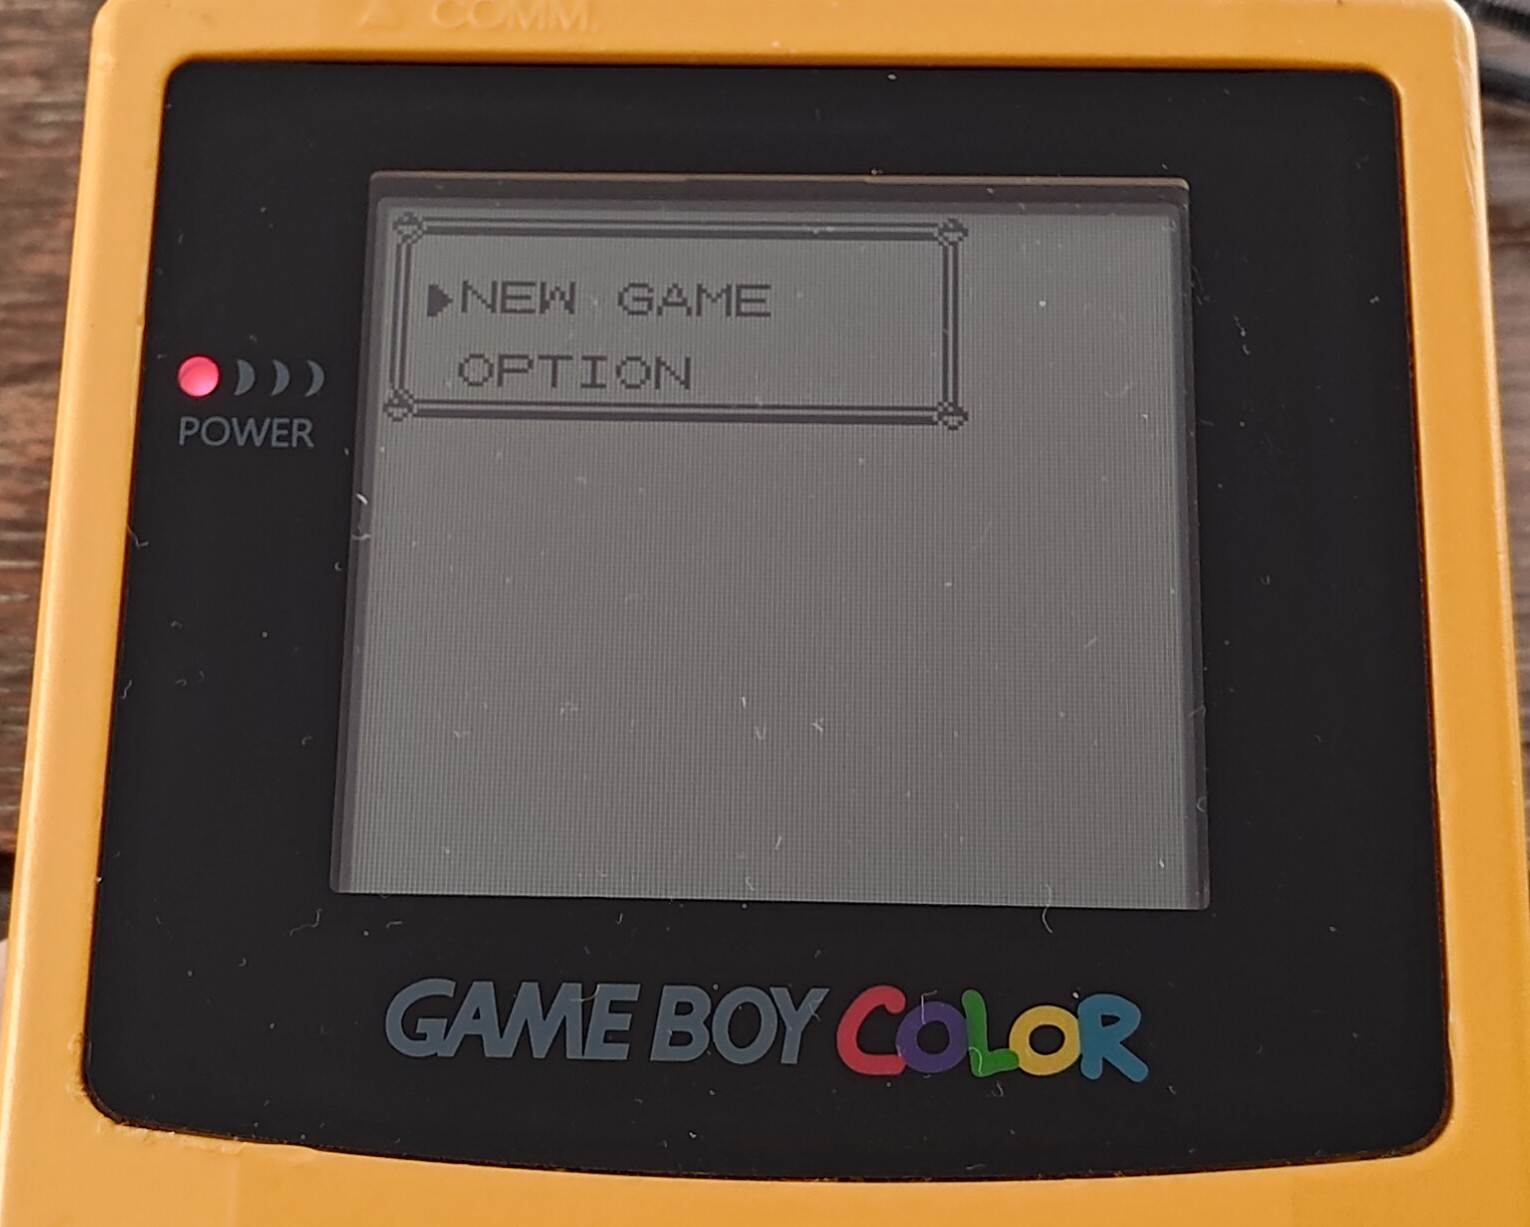
After watching a Nuzlocke on Youtube and seeing a post on Discuit, I was seized with the desire to play old-school Pokémon on my GameBoy Color. One problem: the batteries had all gone dead.
GameBoy games used watch batteries to power their persistent storage because flash memory was so expensive. Basically, you need a working battery to save your game.
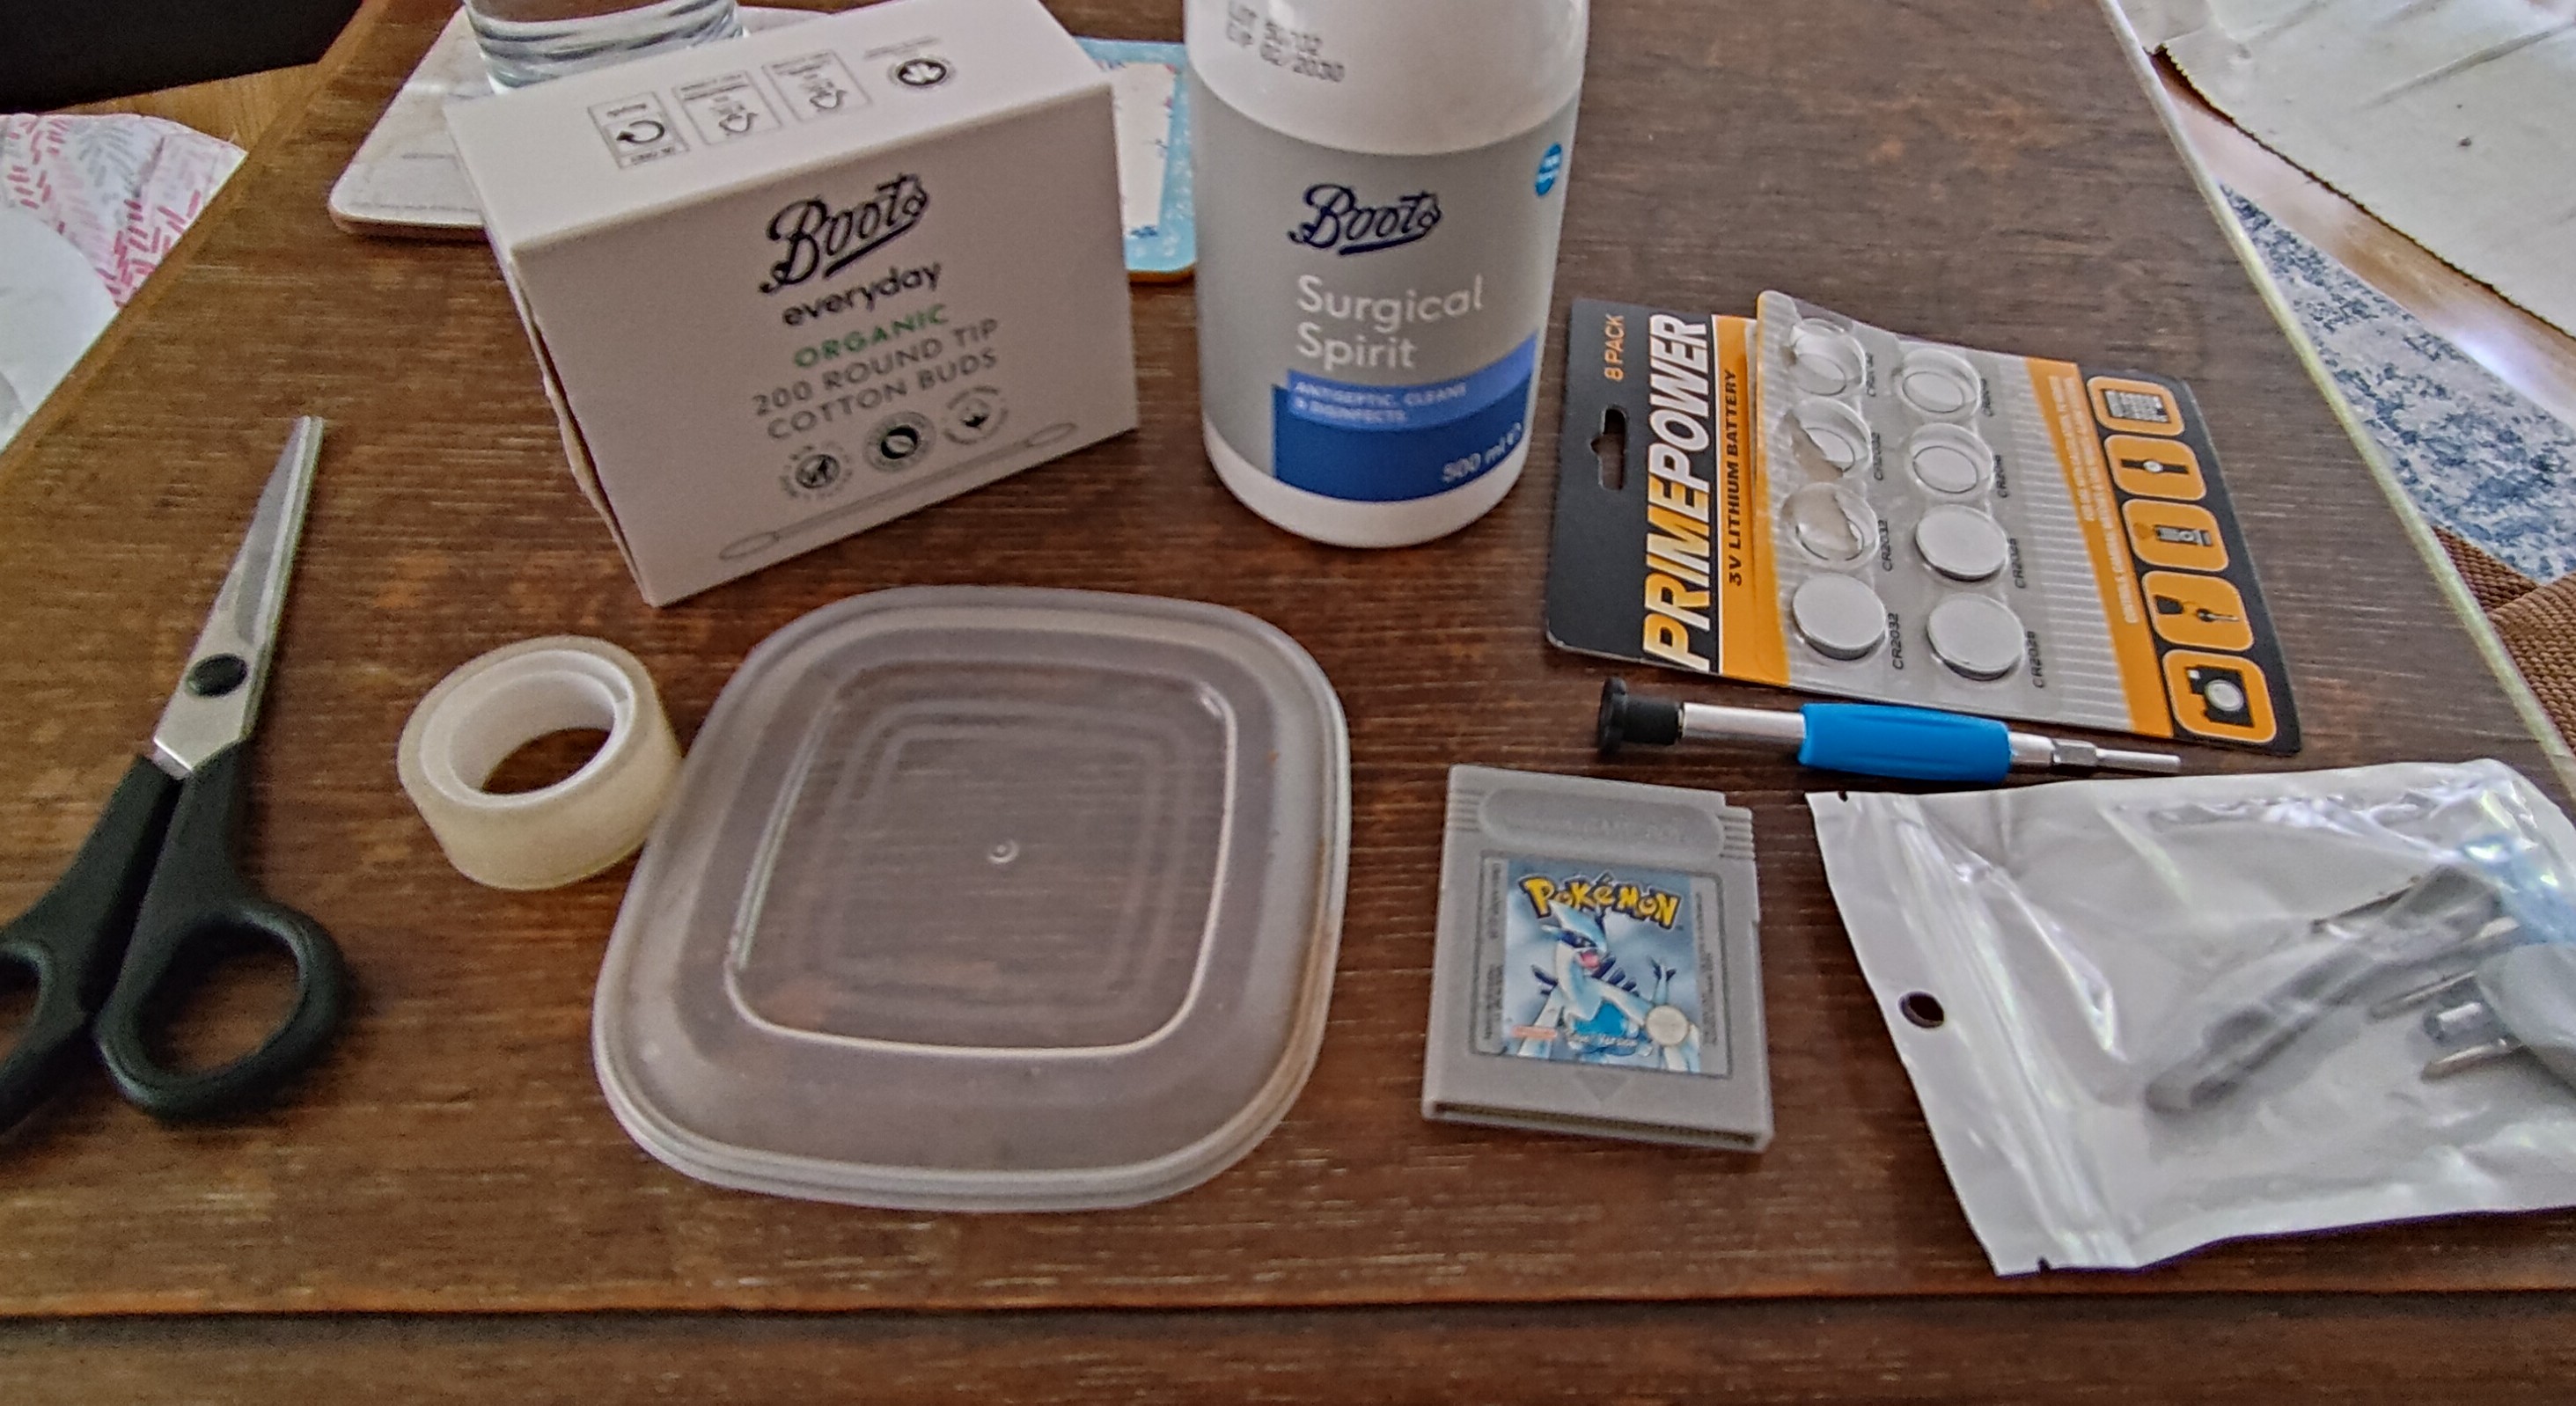
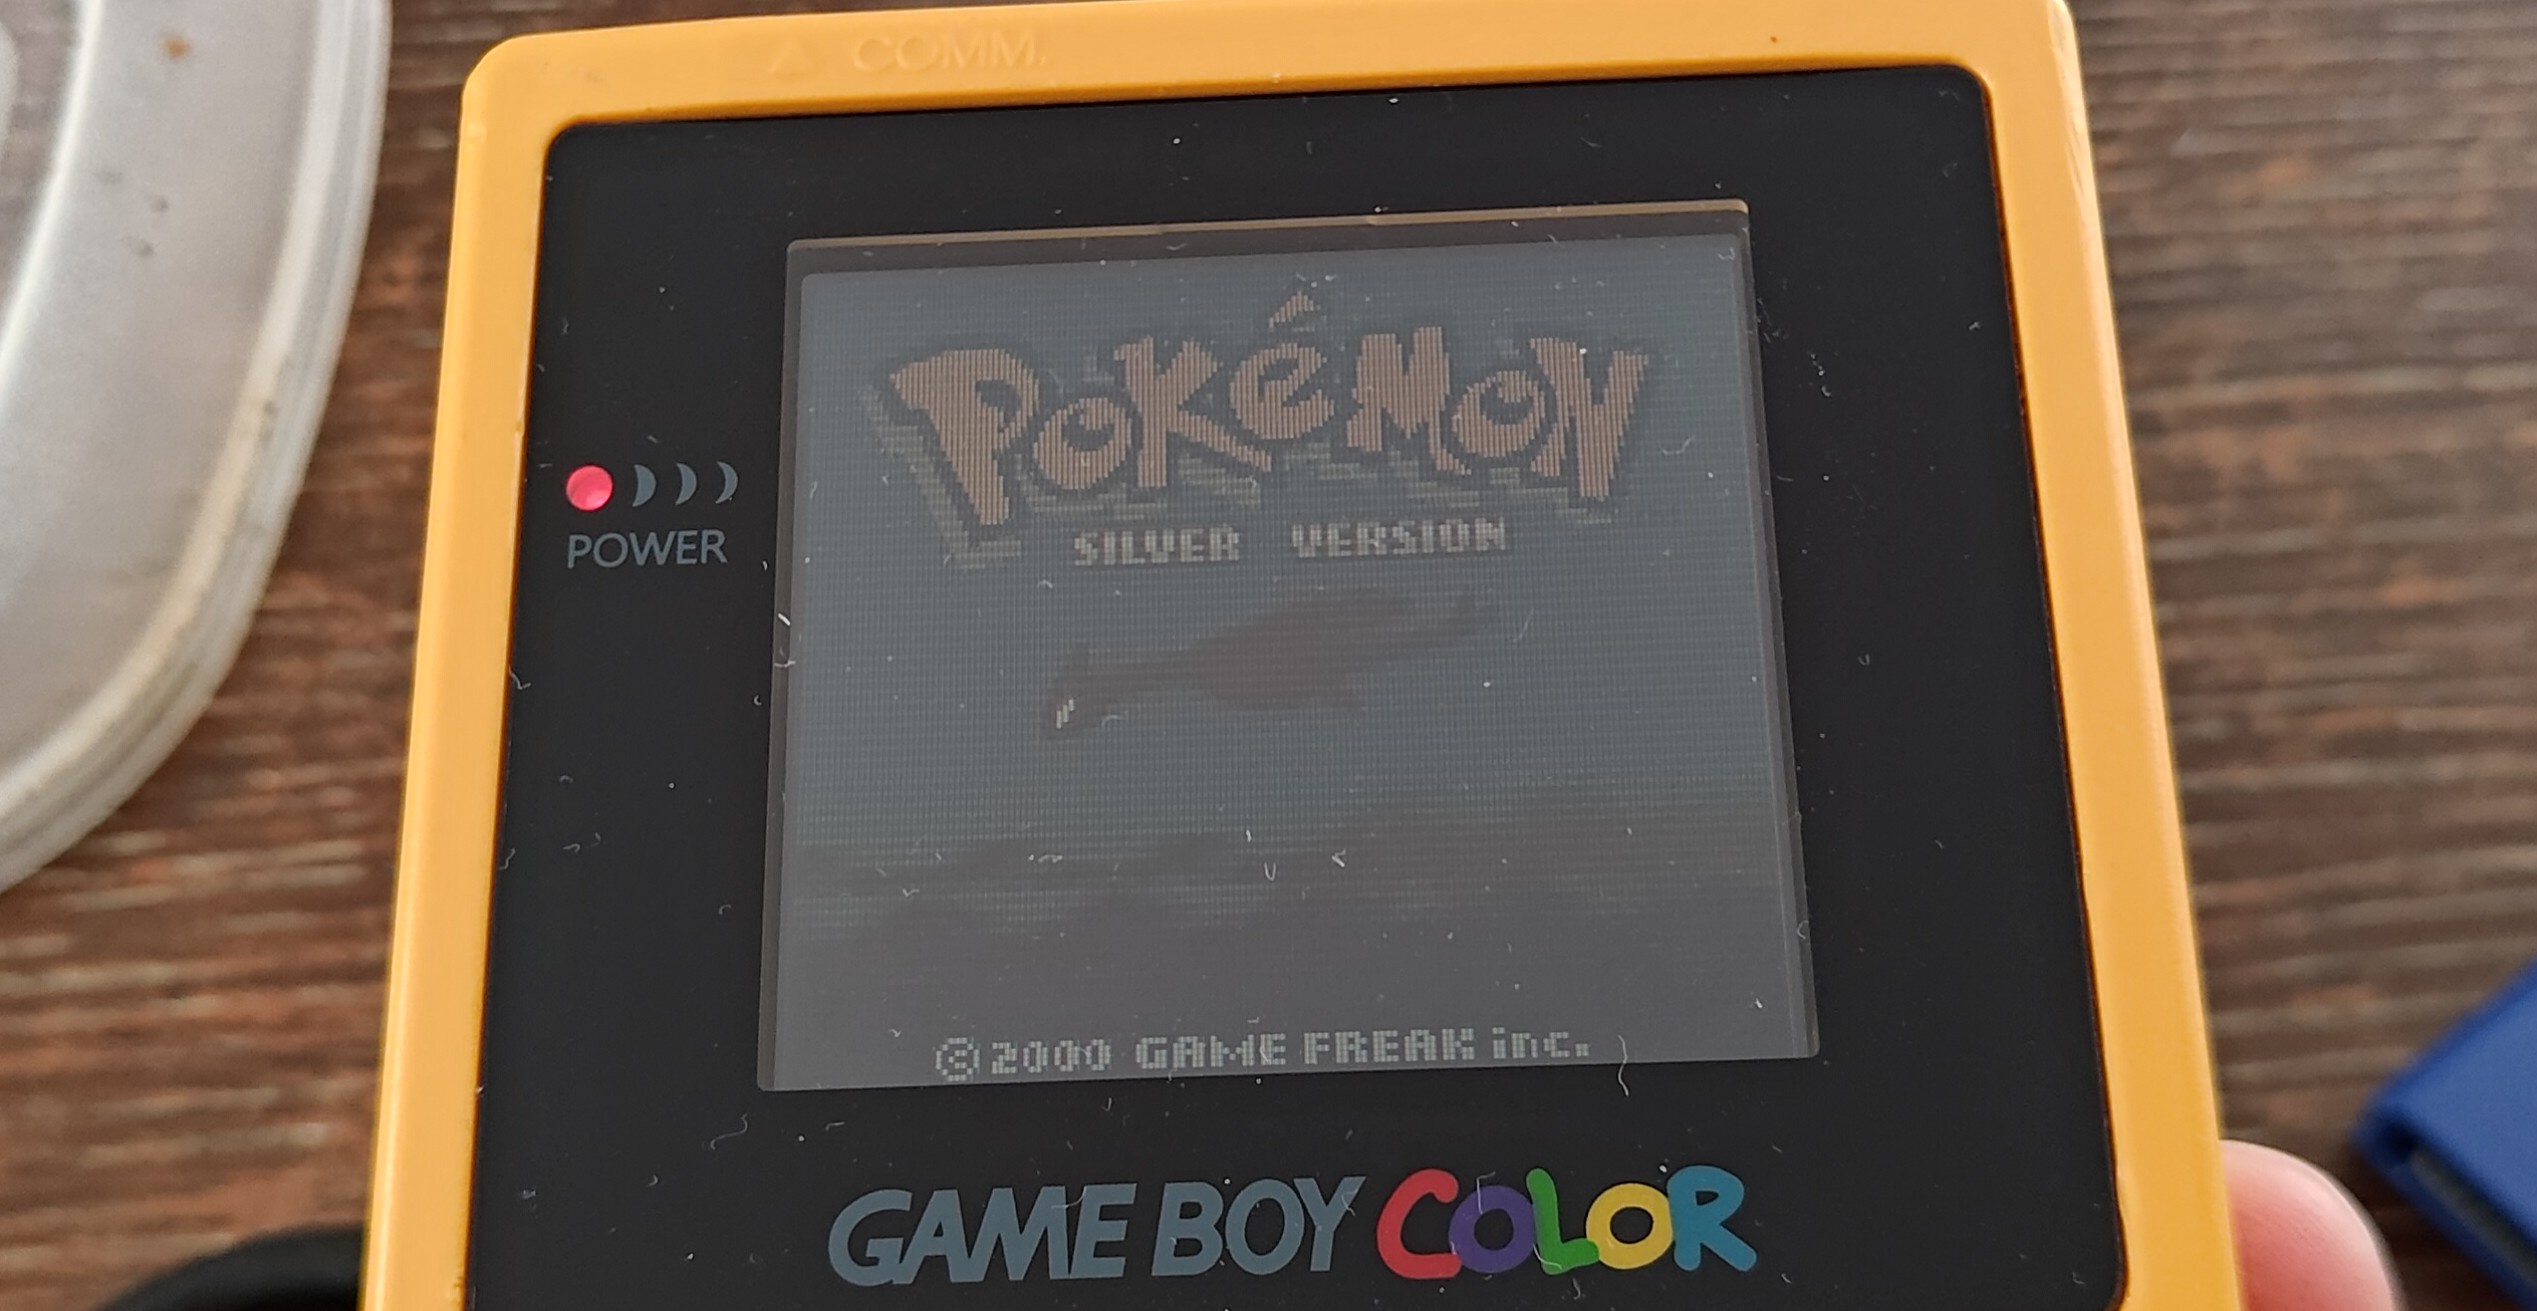
Fortunately, this is a problem I had encountered the last time I wanted to play old-school Gold and Silver. The day/night cycle in those games are also powered by the battery, so they run down extra-fast (I think I observed it as 5-7 years). And this time, since I had recently replaced the scratched-to-heck screen of my old GBC, I even have the correct tool to open the games. Though the connector on my Silver game was also so tarnished that the GameBoy wouldn't even load the first logo with the cartridge inserted, so I'd need some isopropyl alcohol too. We call it "surgical spirit" in this country for some reason.
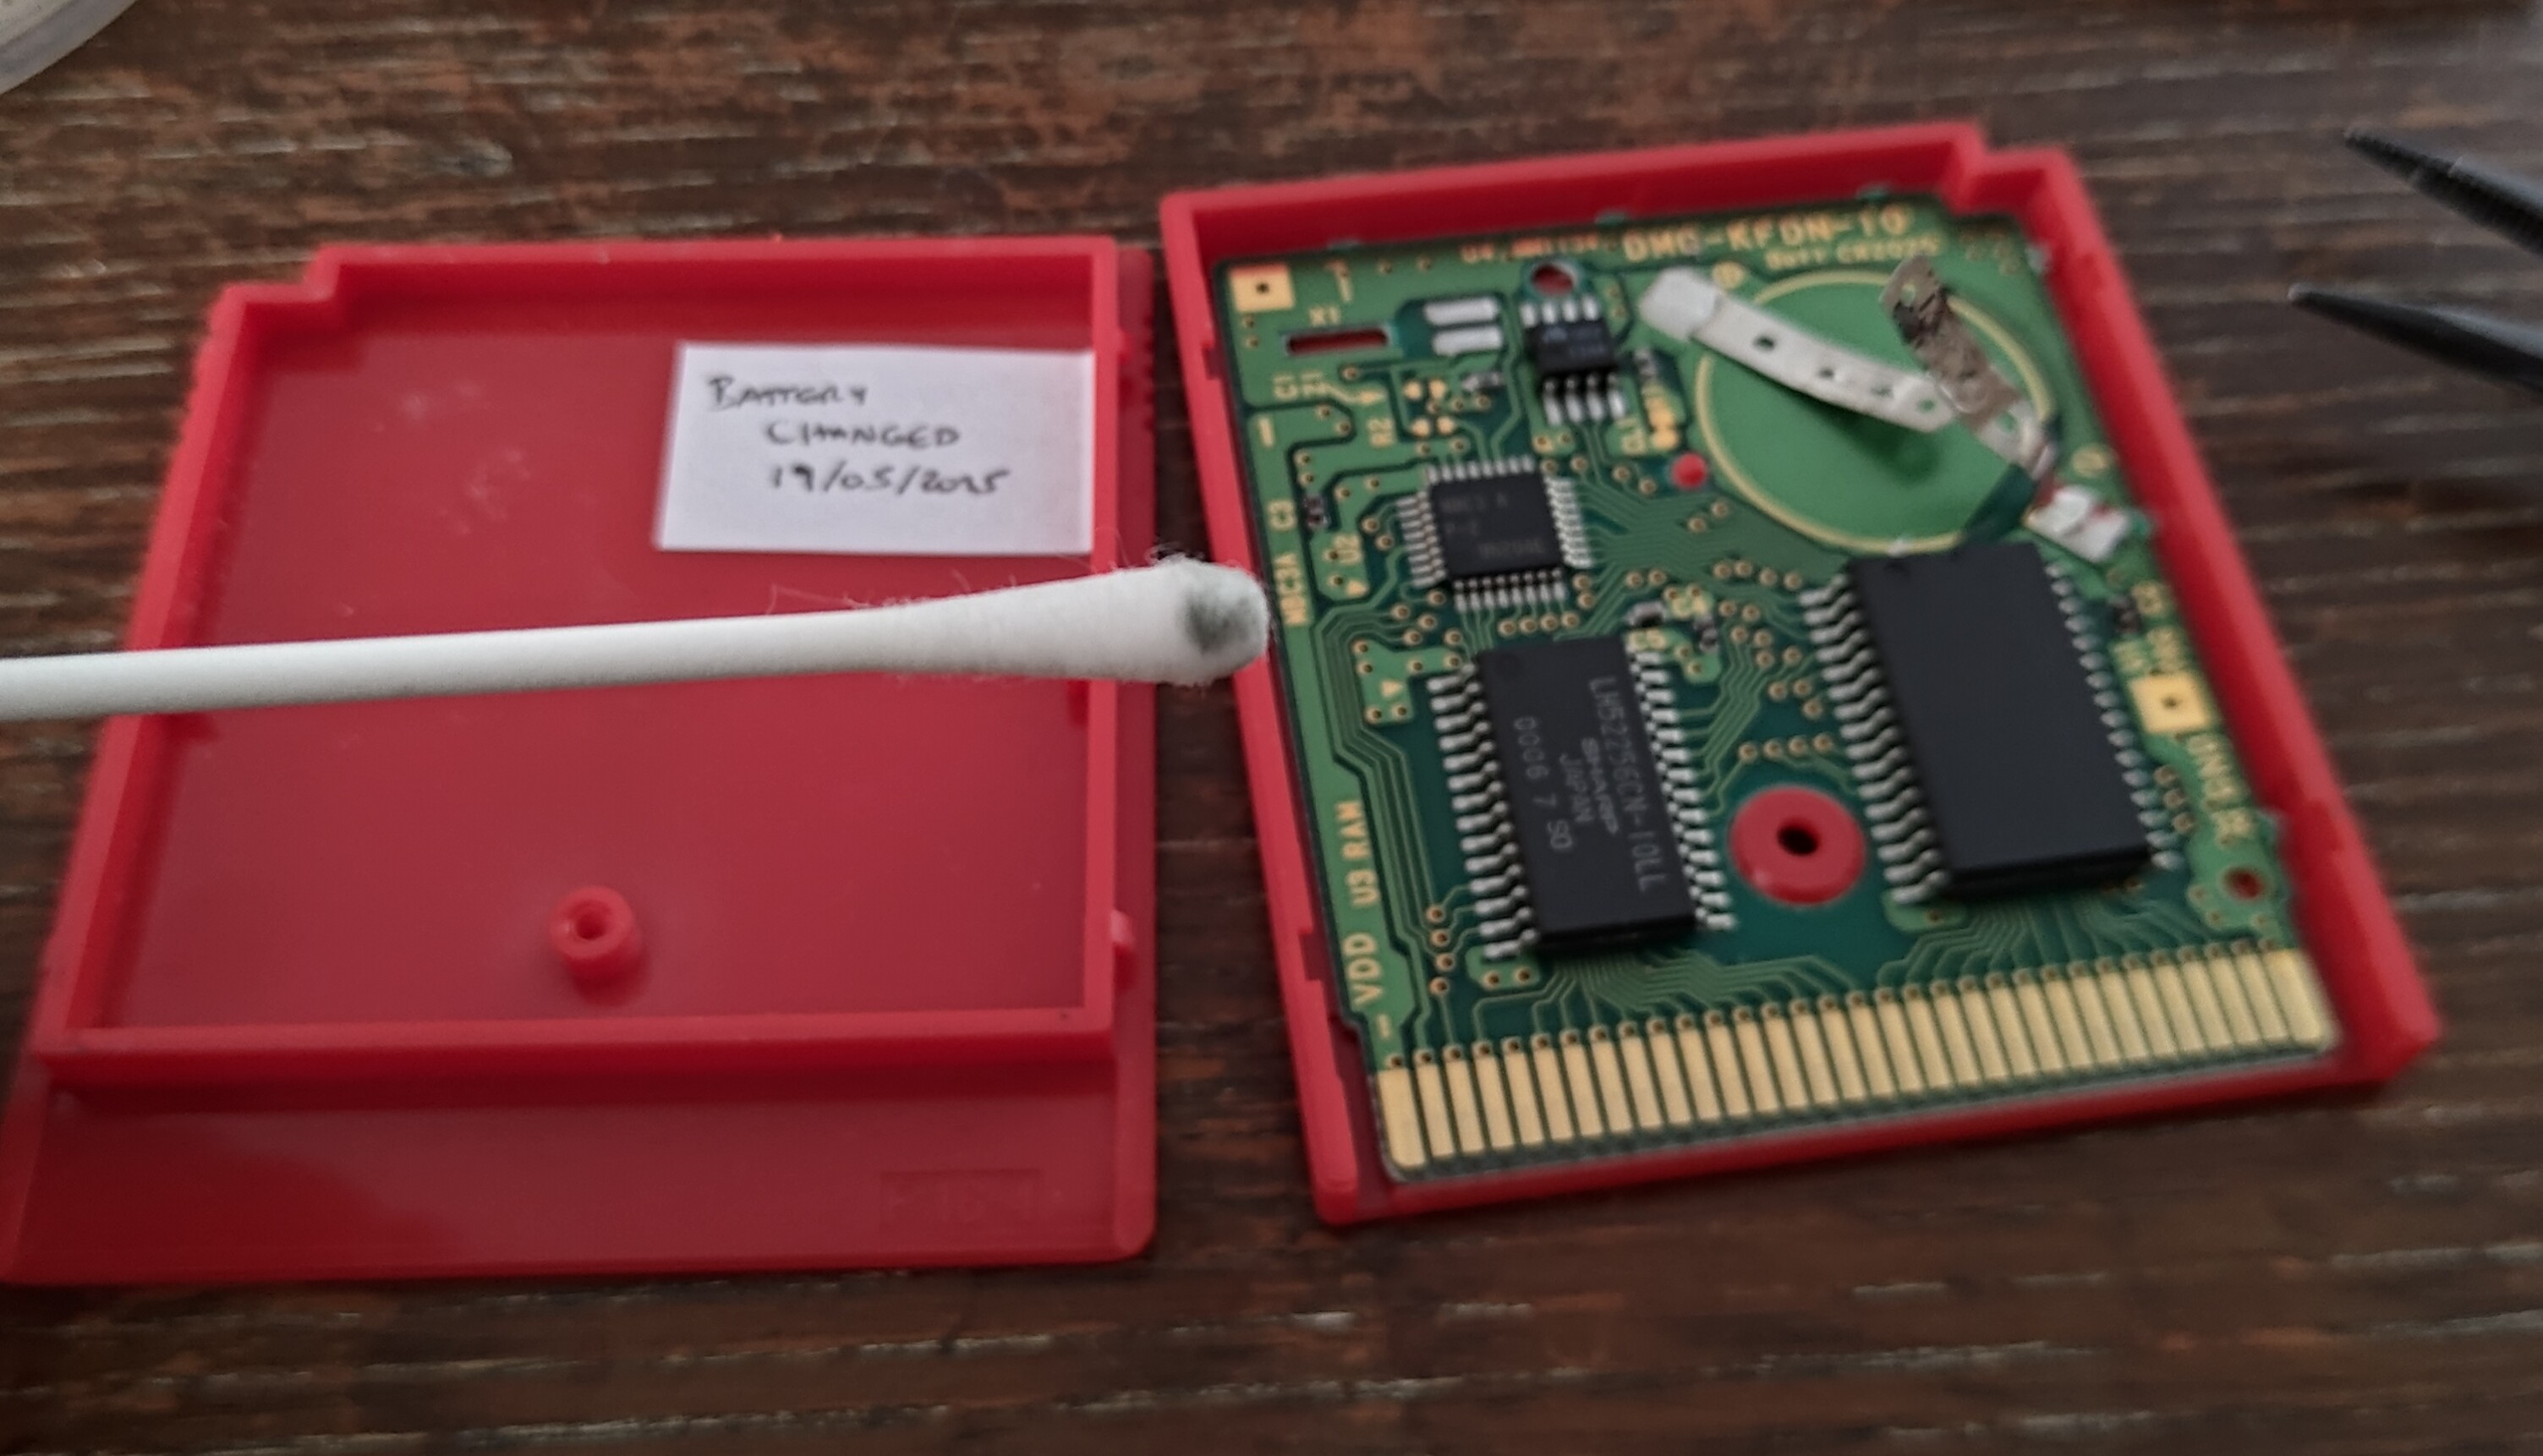
Time to get to work! First up: Pokémon Silver.
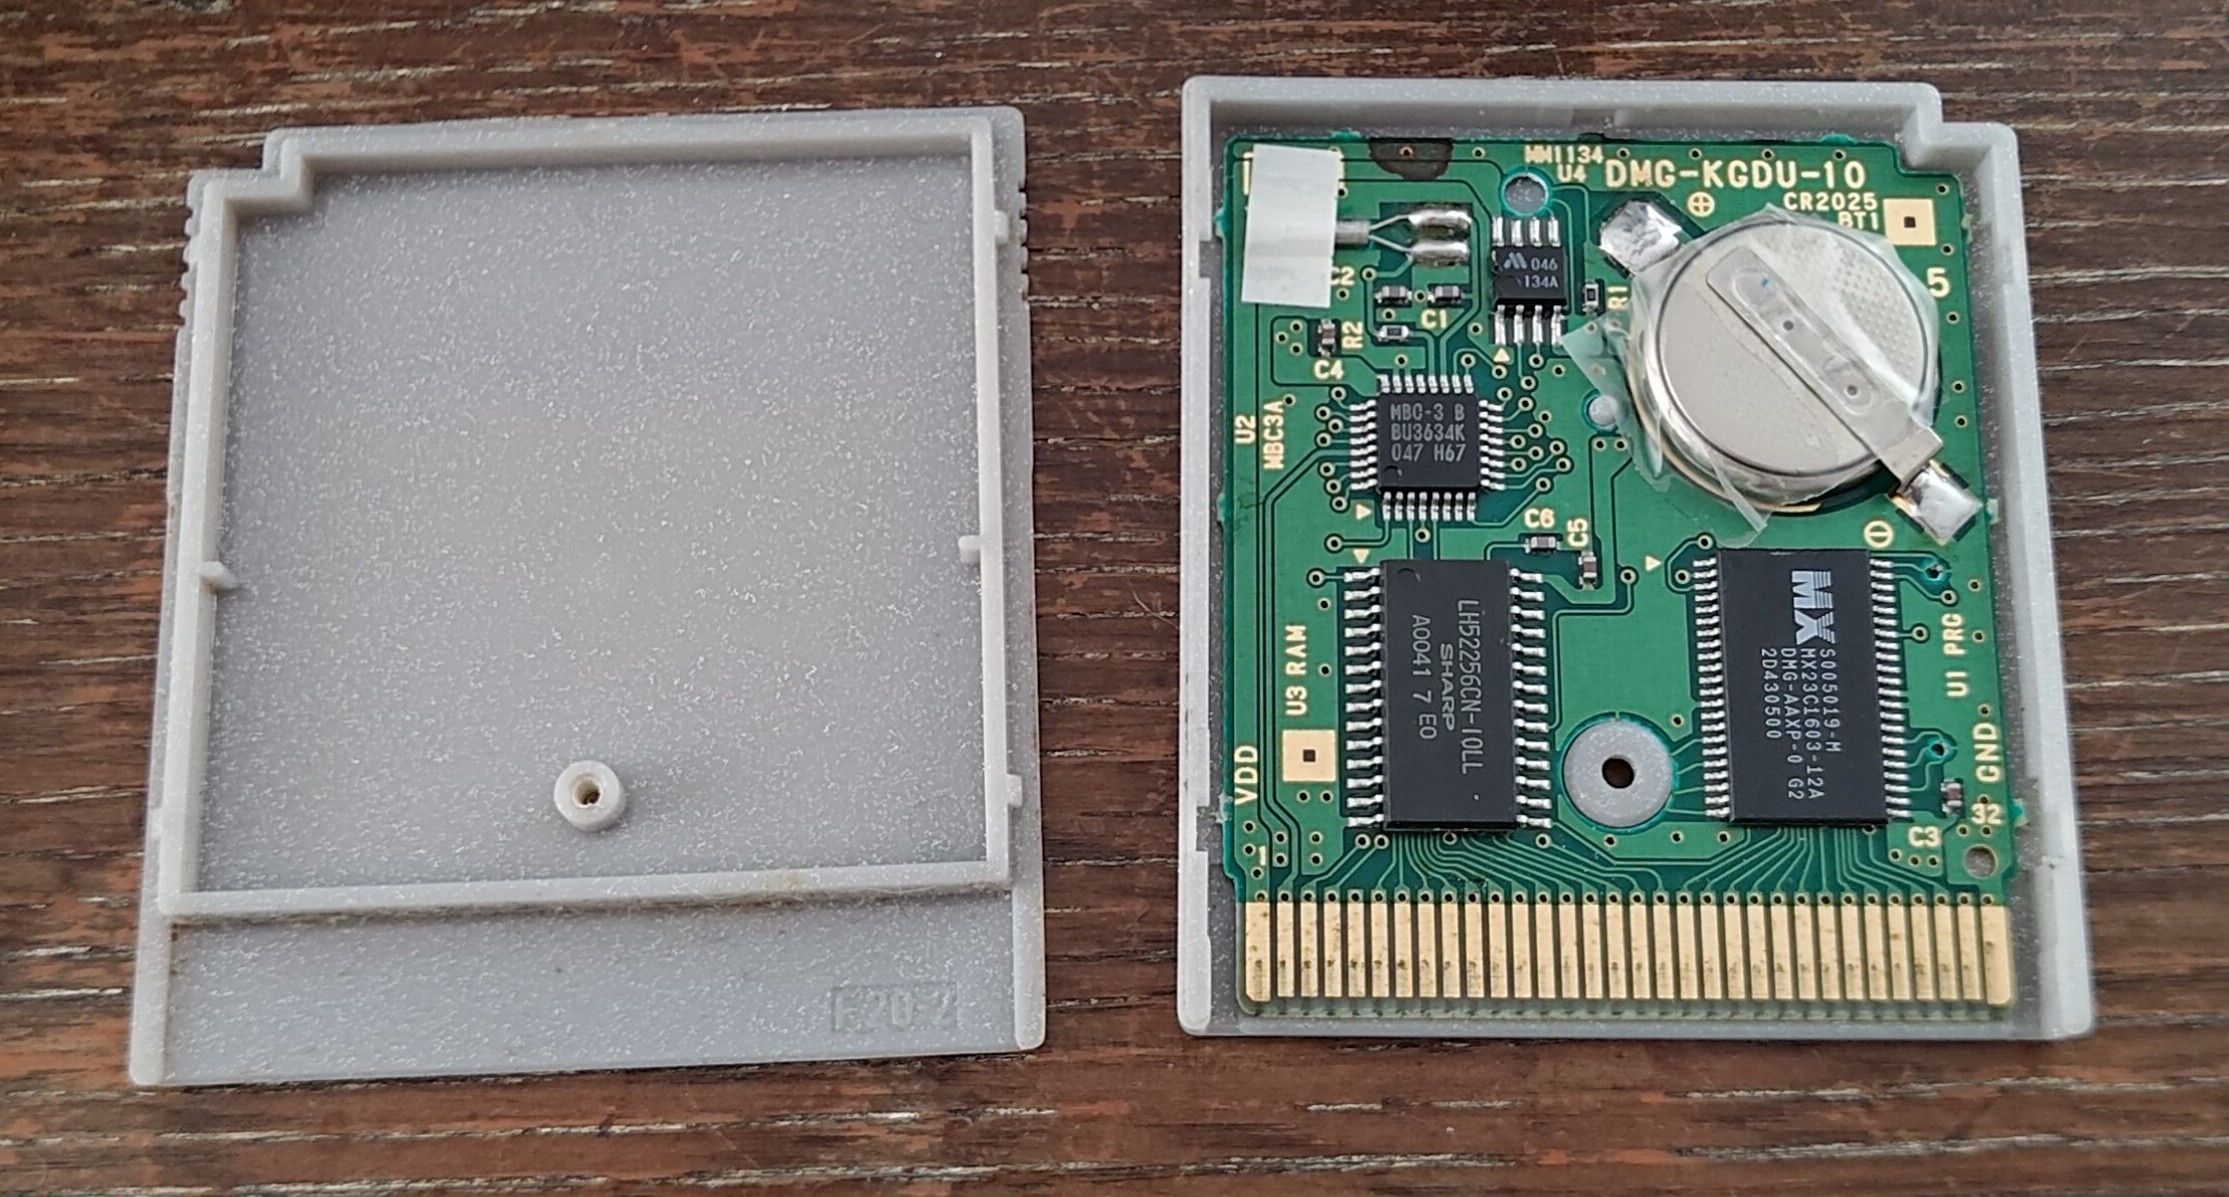
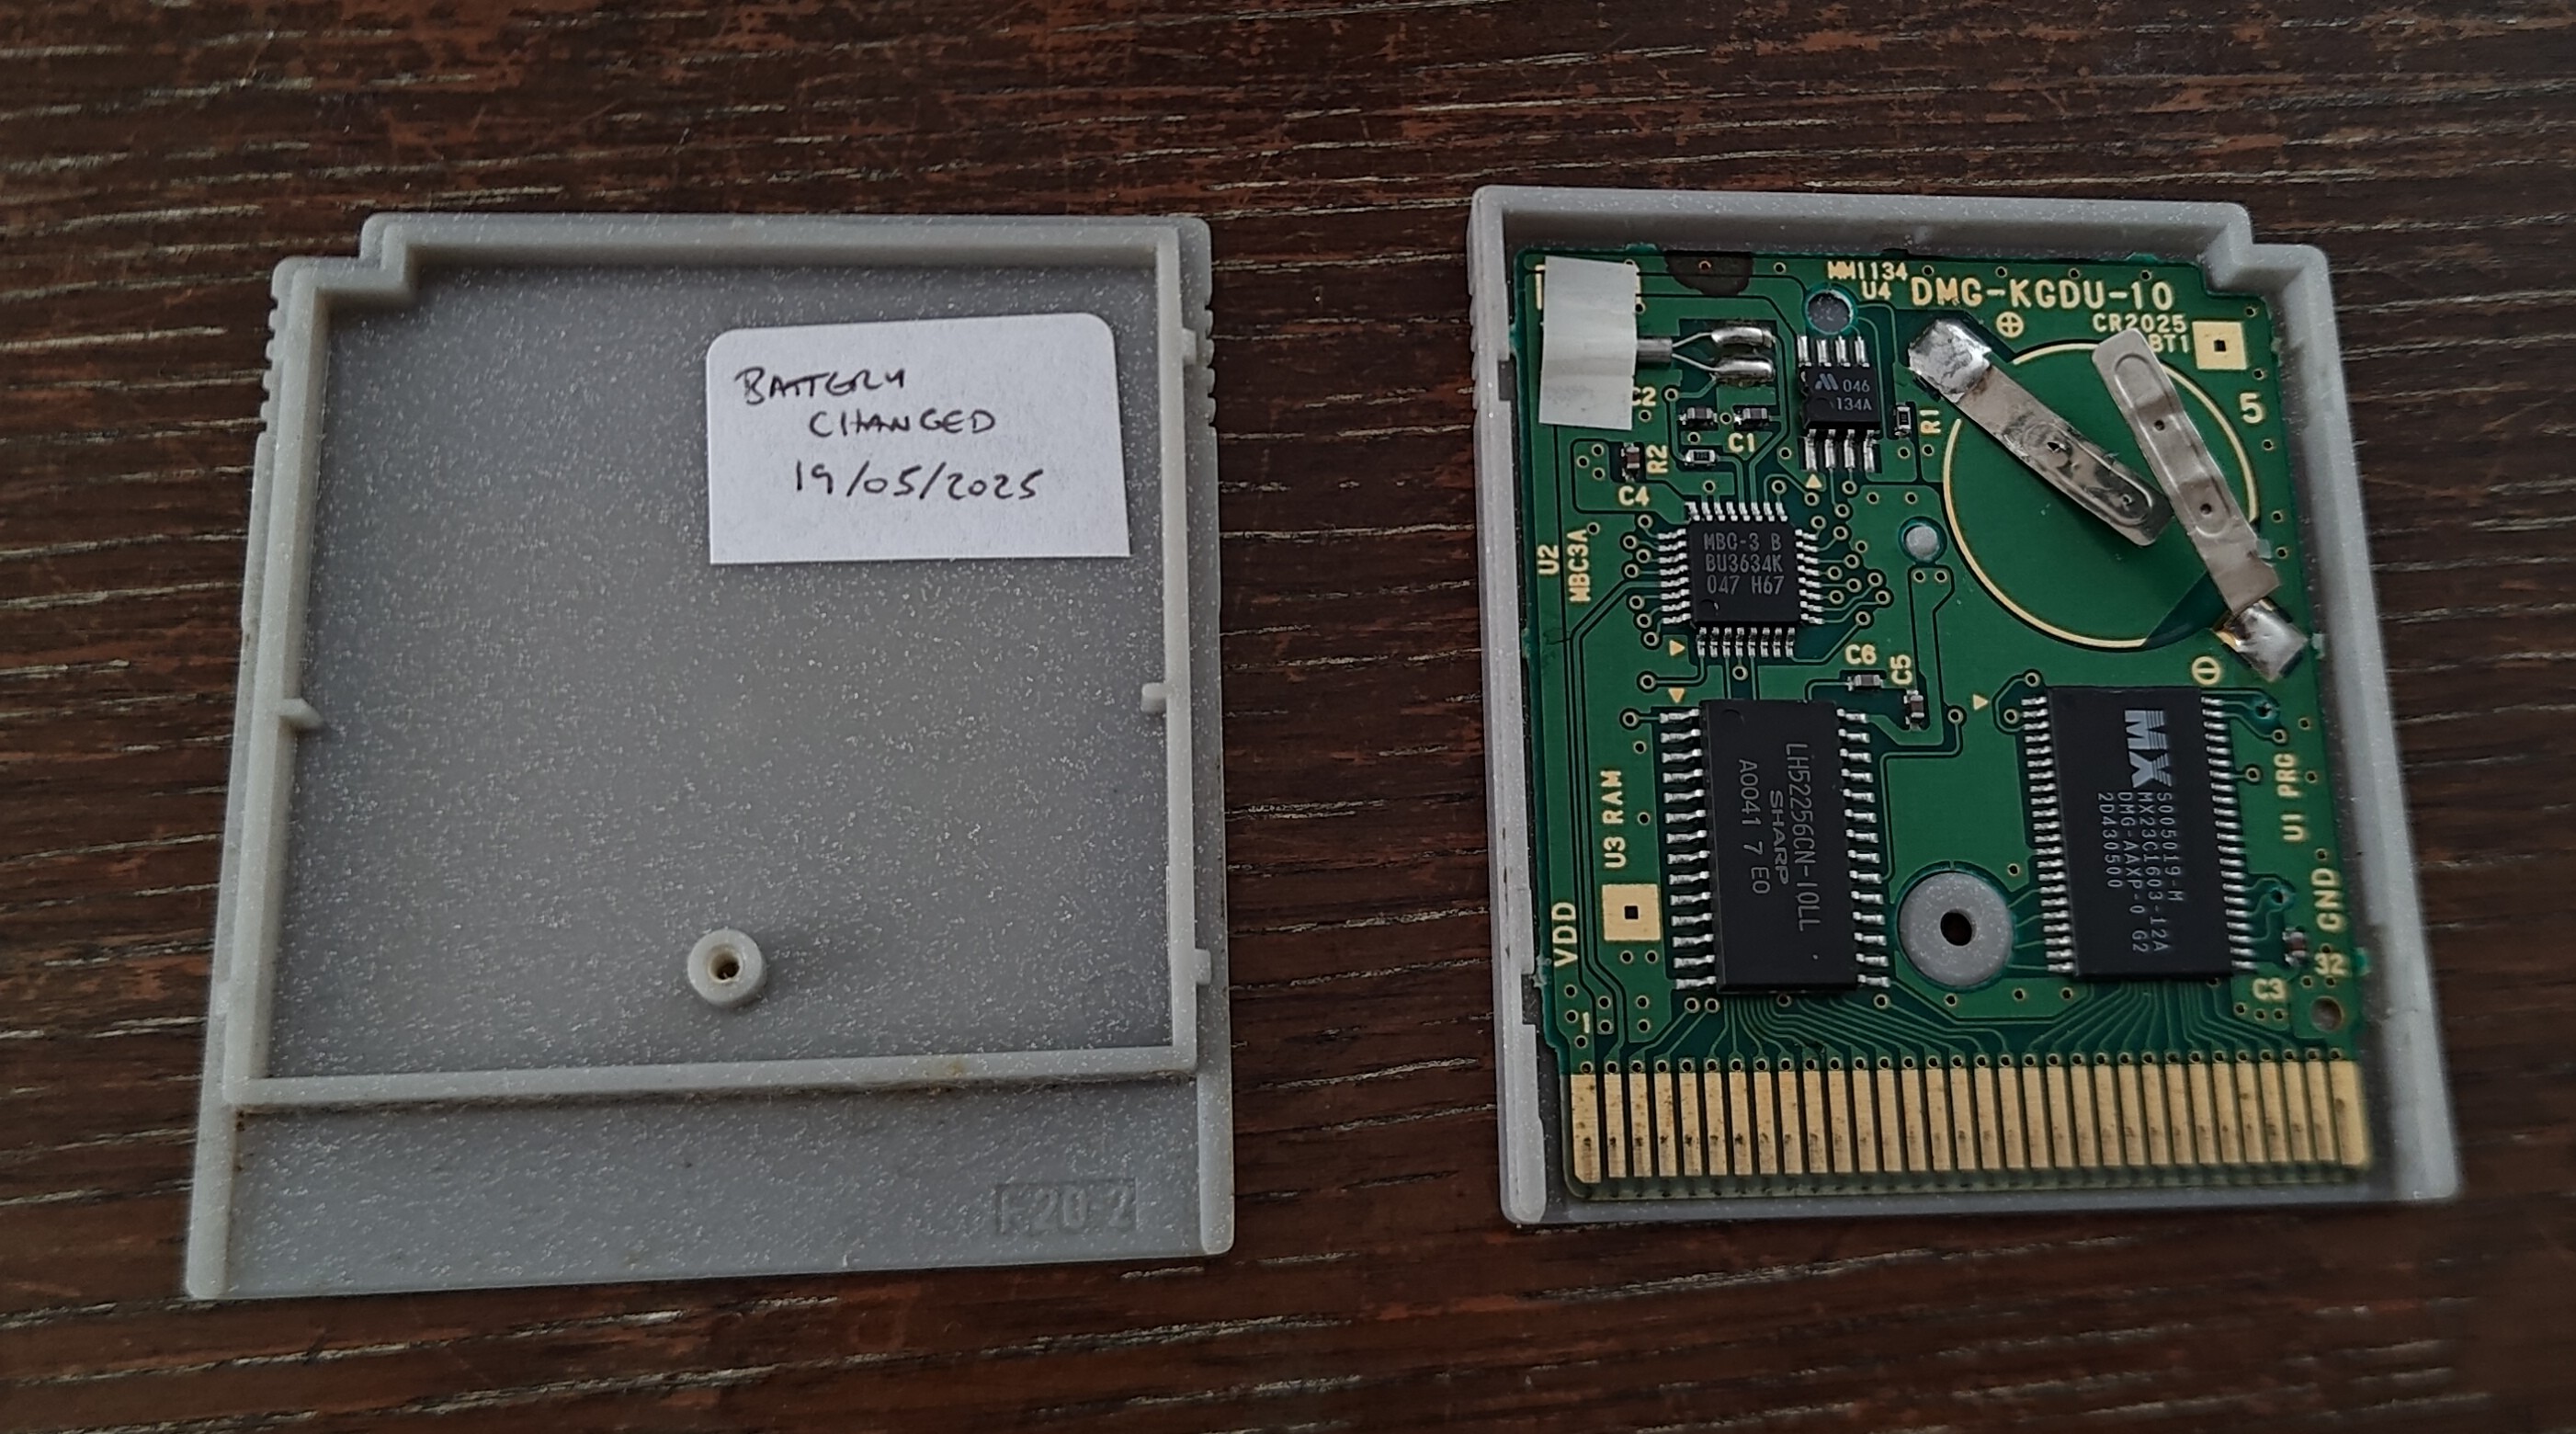
As you can see, this battery has been changed before. I almost certainly shouldn't have used sellotape to secure the battery, but I'm going to again for three reasons:
- I don't have a soldering iron,
- soldering around batteries is potentially dangerous and I have no idea what I'm doing, and
- it worked last time ¯\_(ツ)_/¯
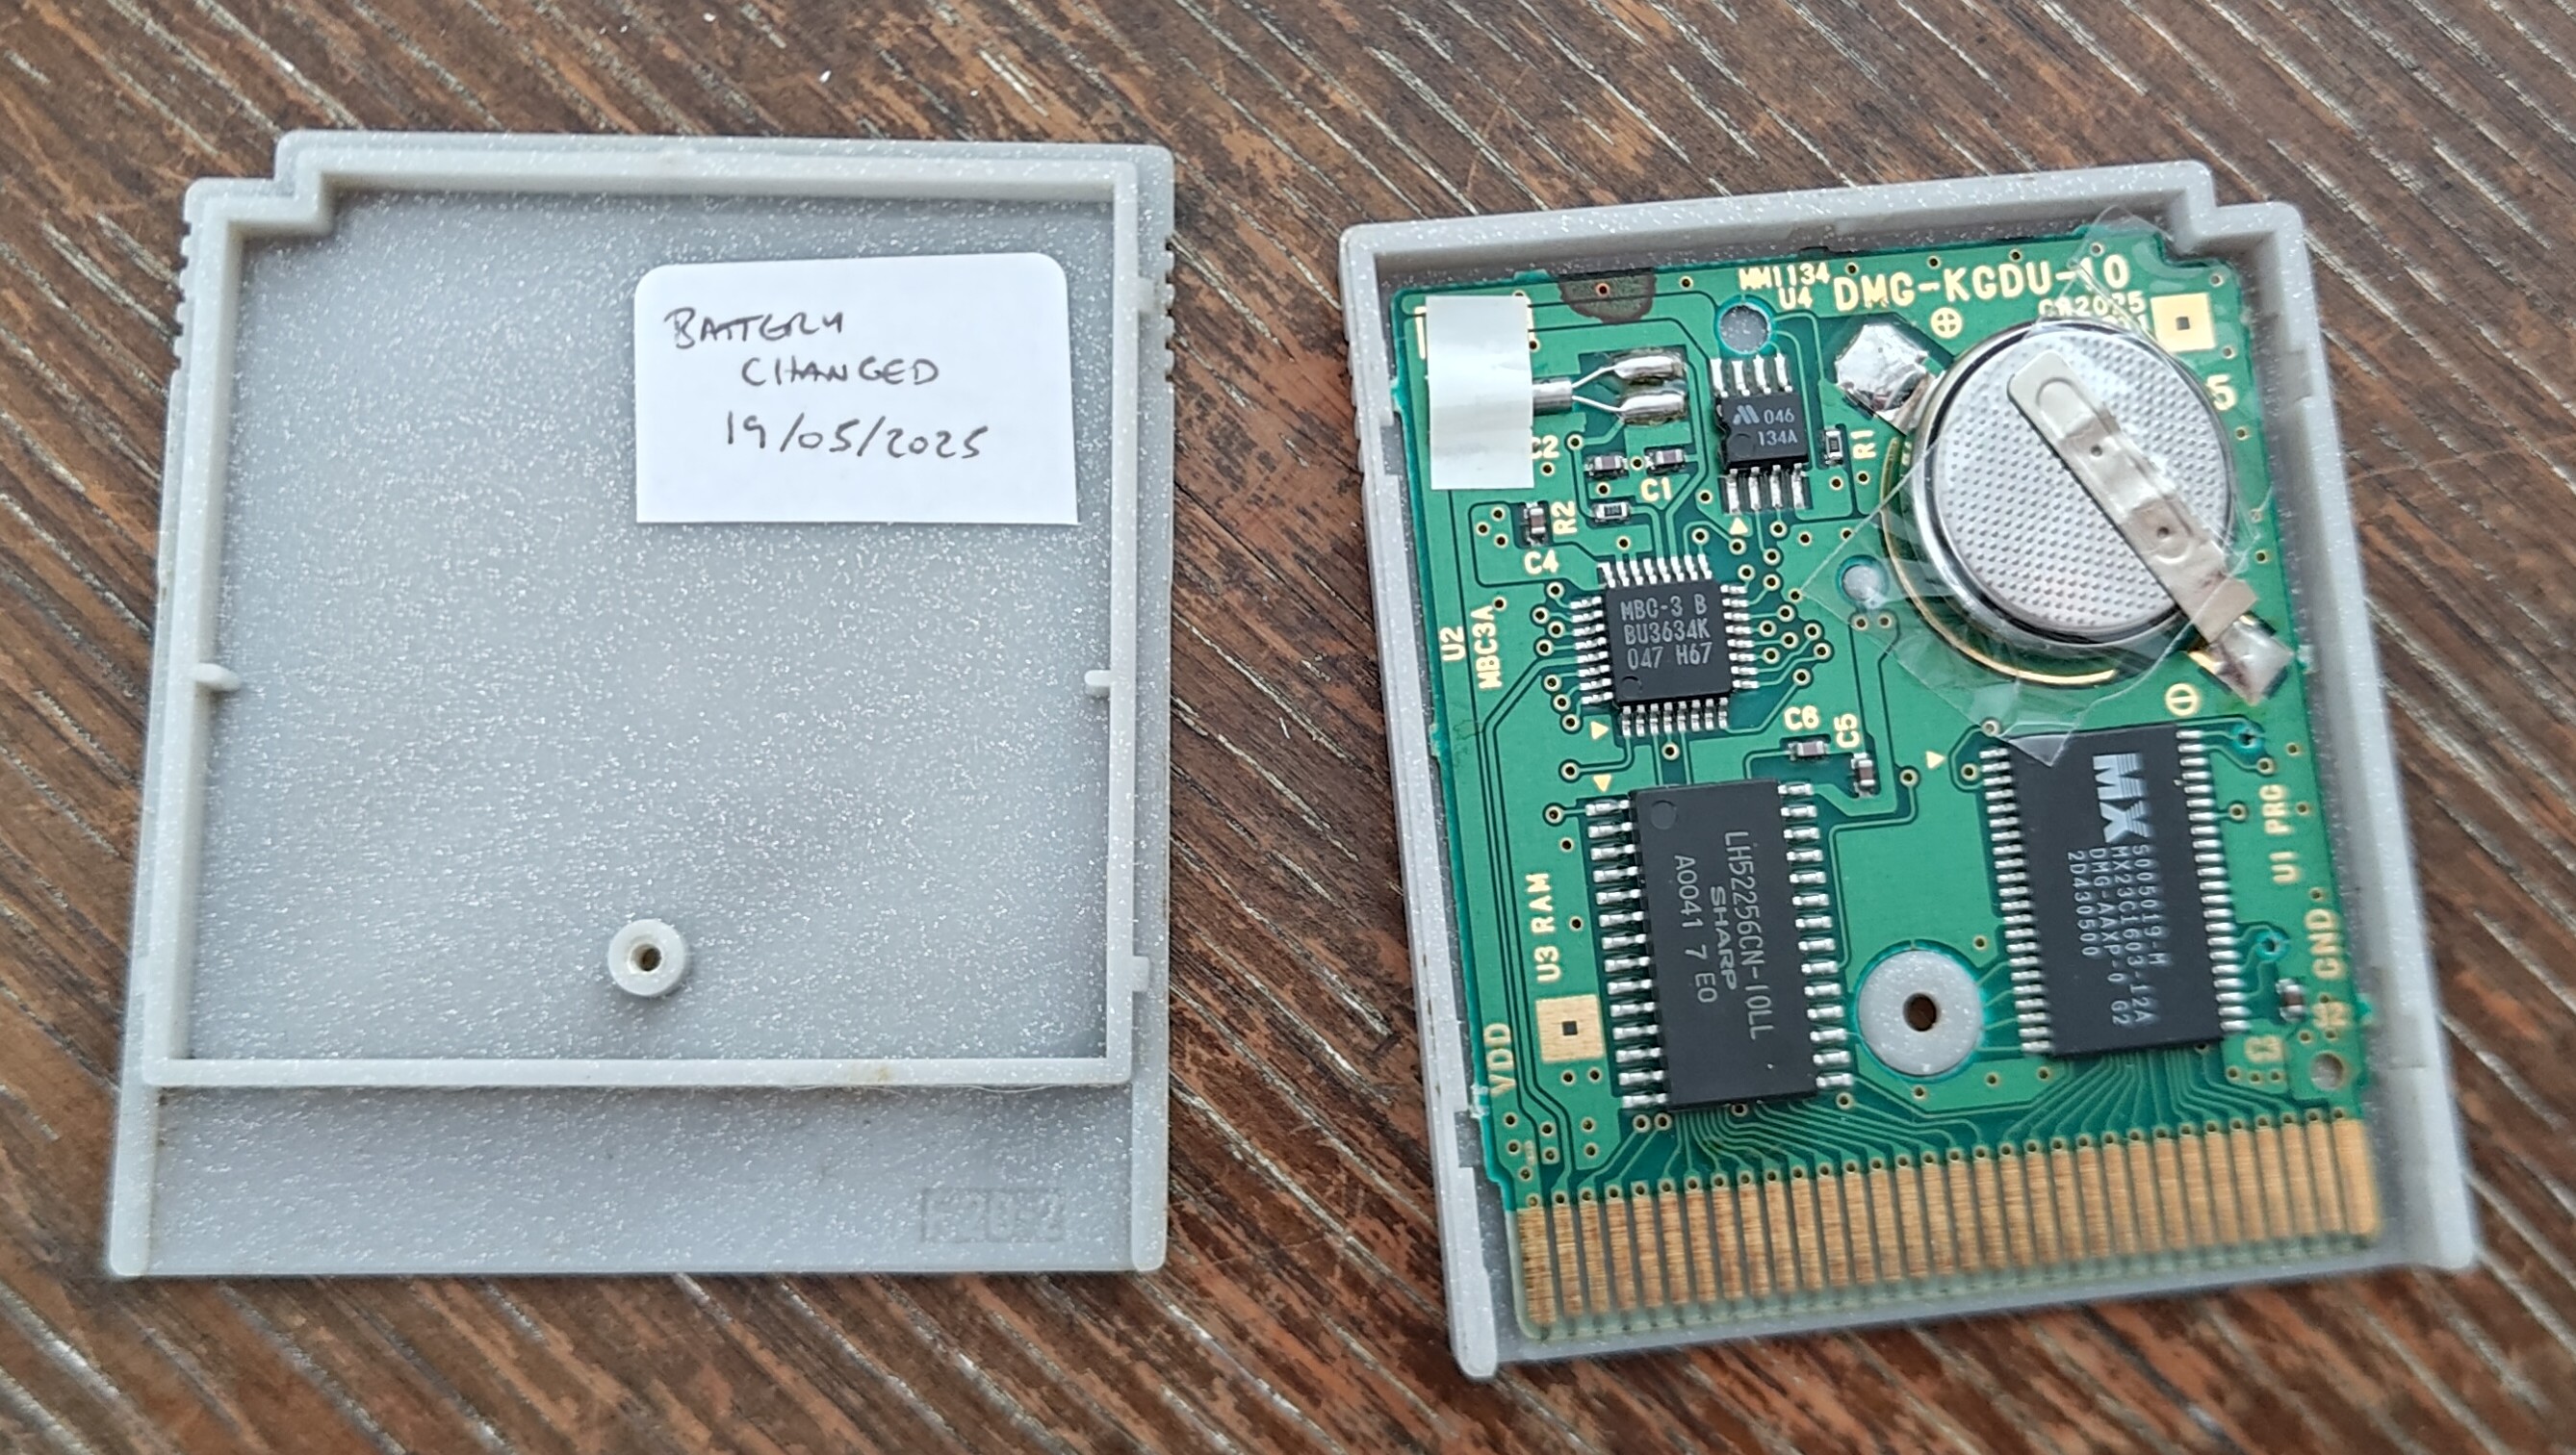
A GameBoy cartridge battery, at least a Pokémon one, is a CR2025. That's a watch battery that's 20mm in diameter and 2.5mm tall, apparently. A CR2032 battery is 20mm in diameter and 3.2mm tall (apparently). Both are 3V batteries, the only other difference is the thicker battery holds more charge. Since I have two CR2025s and one CR2032, and Gold and Silver drain batteries faster, I put a CR2032 in. It barely fits, so I hope that doesn't backfire on me.
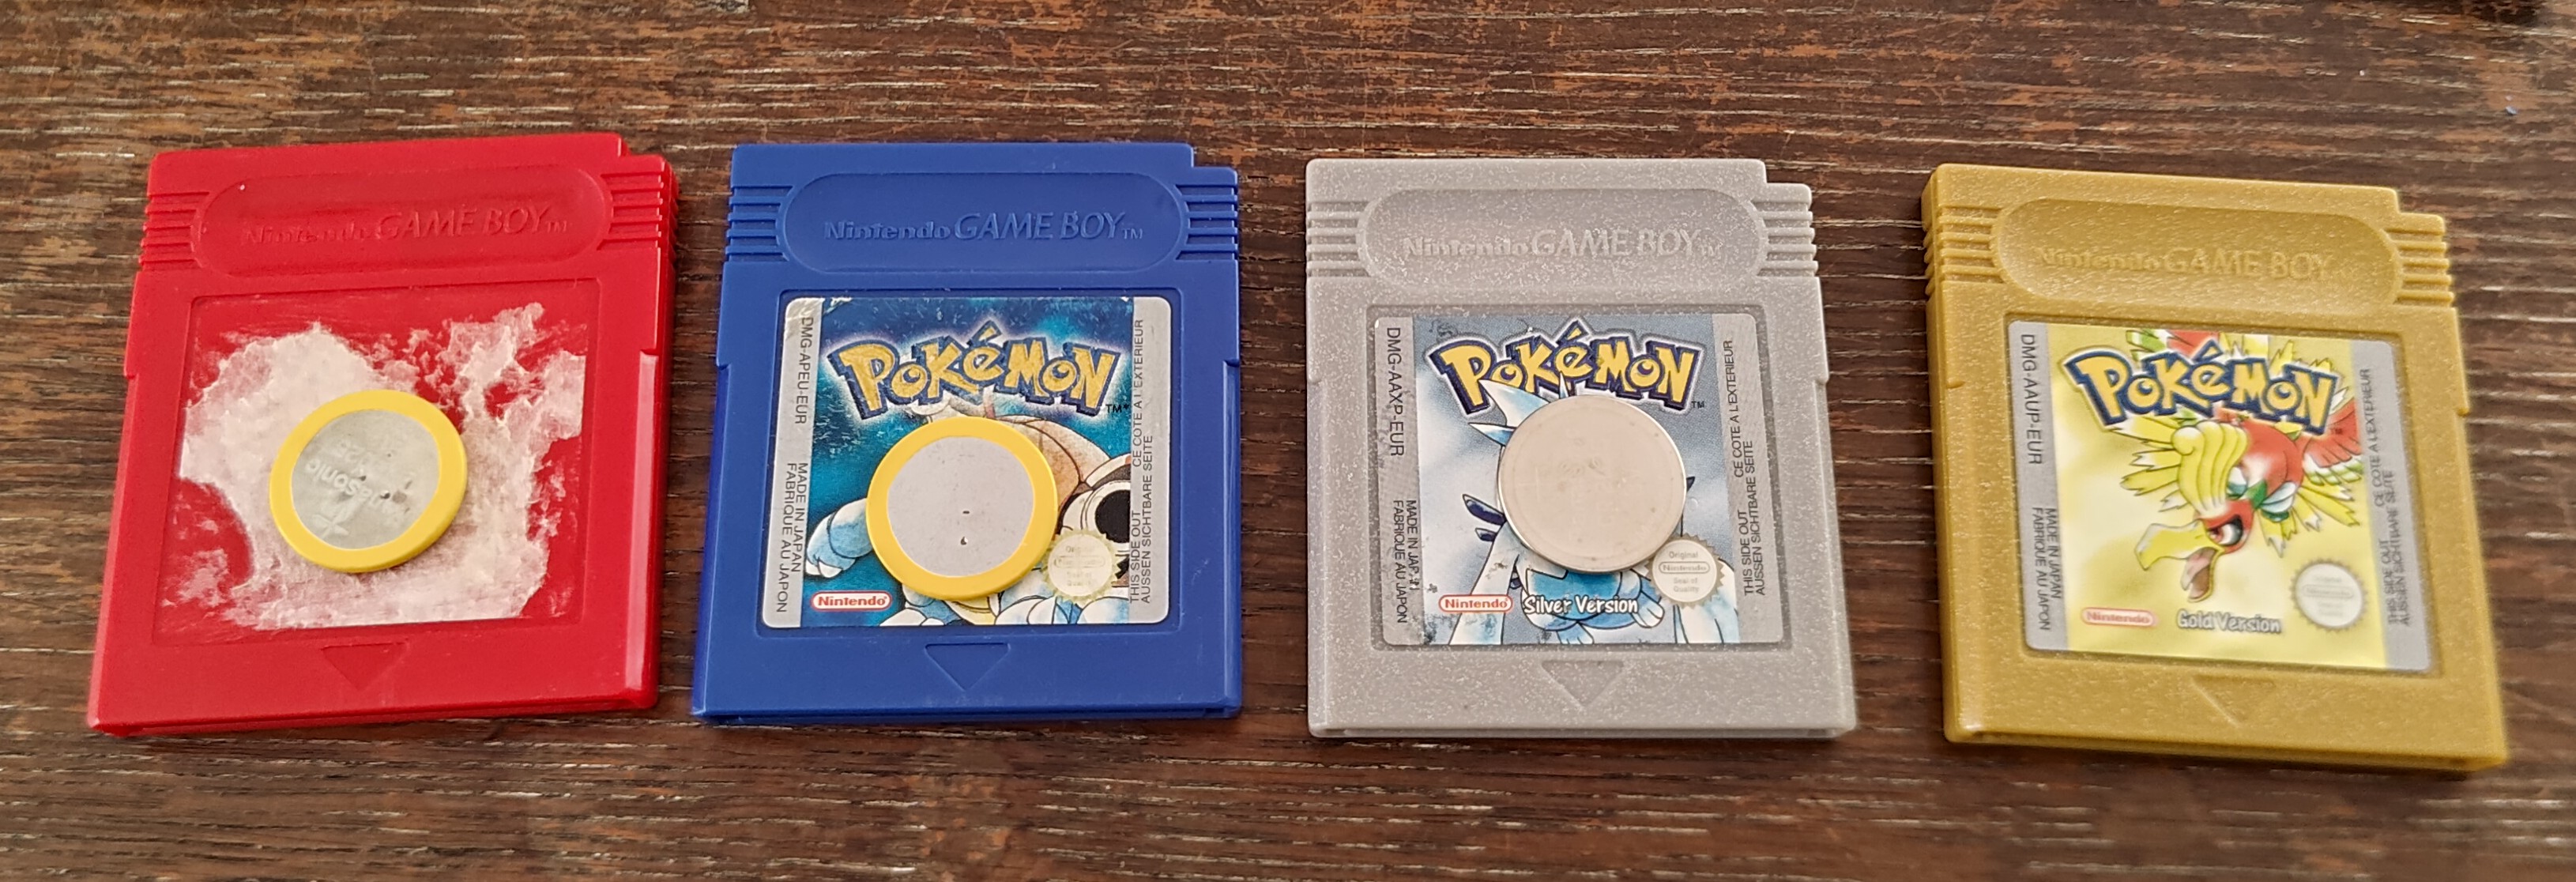
Good as new! Next up: Pokémon Red & Blue
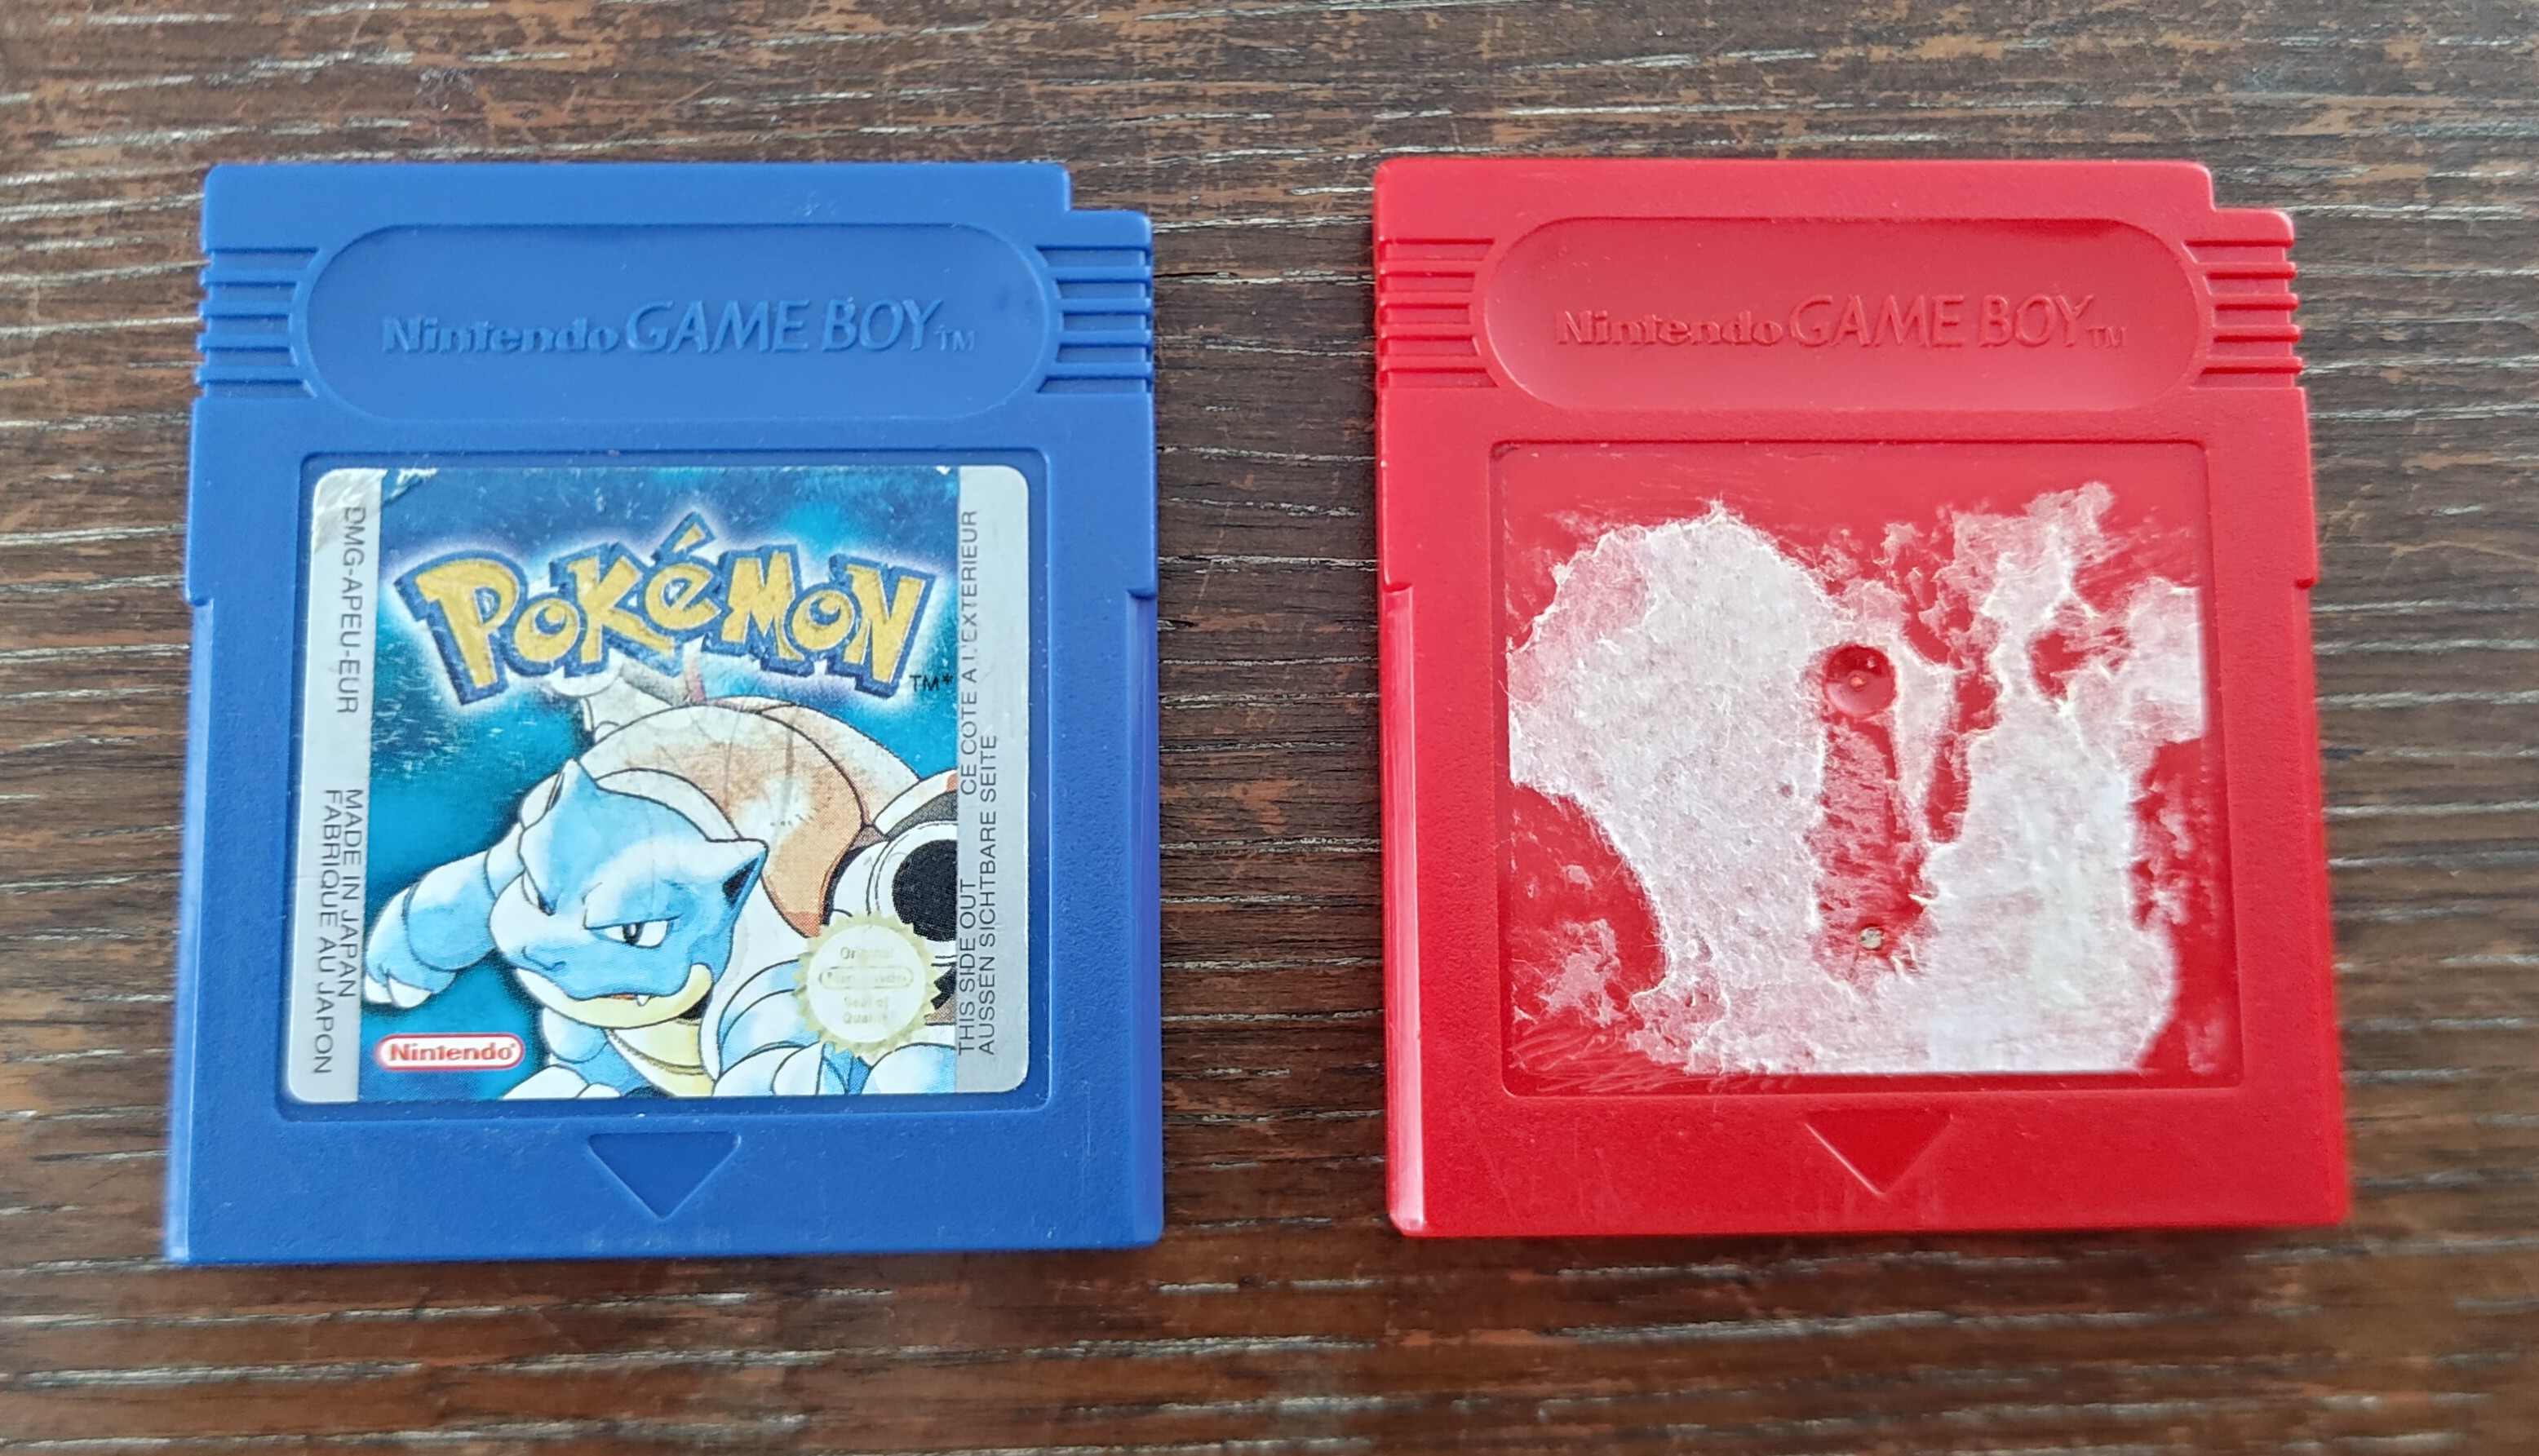
I can't remember whether Gold and Blue are the original games I had as a child or whether they were later purchases via ebay (Silver was definitely an ebay purchase), but I know for a fact that this copy of Red is mine from 1999. And this is the first time it's been opened since being manufactured.
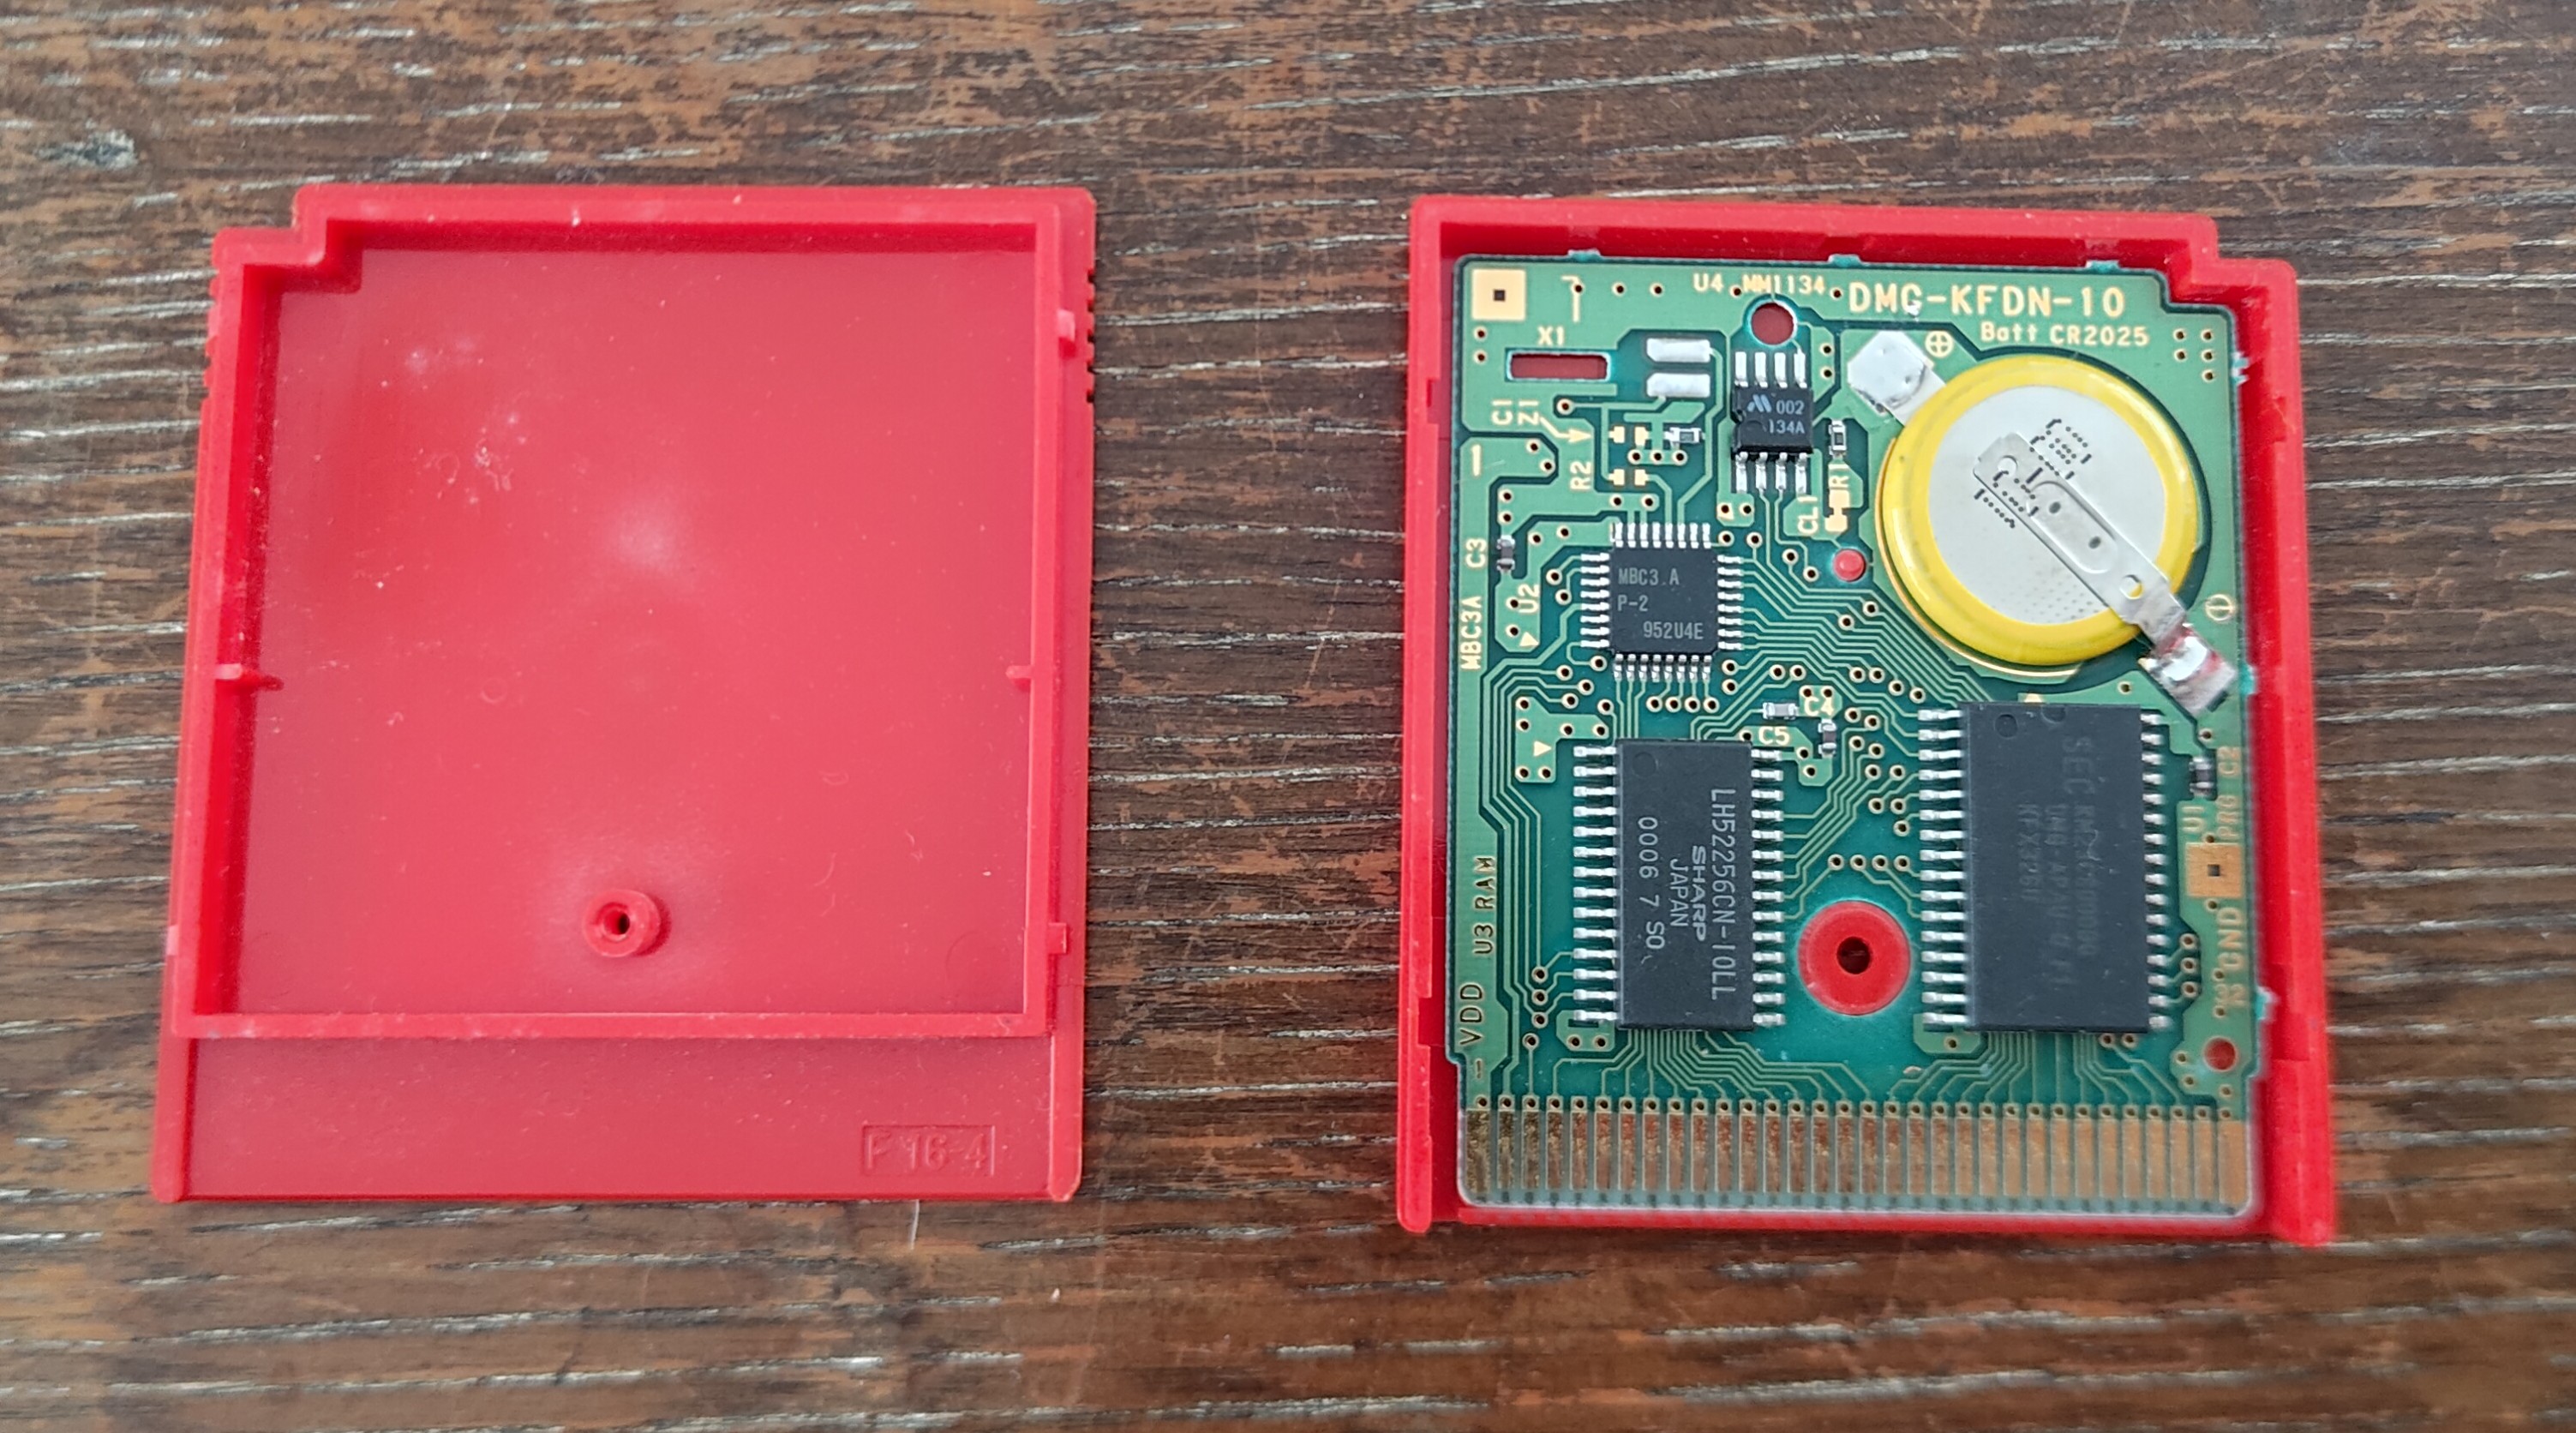
Proper guides to changing a GameBoy game battery tell you to get batteries with the tabs attached and to solder said tabs to the PCB after de-soldering the old ones. As mentioned earlier, I don't have a soldering iron, so I do something much more stupid.
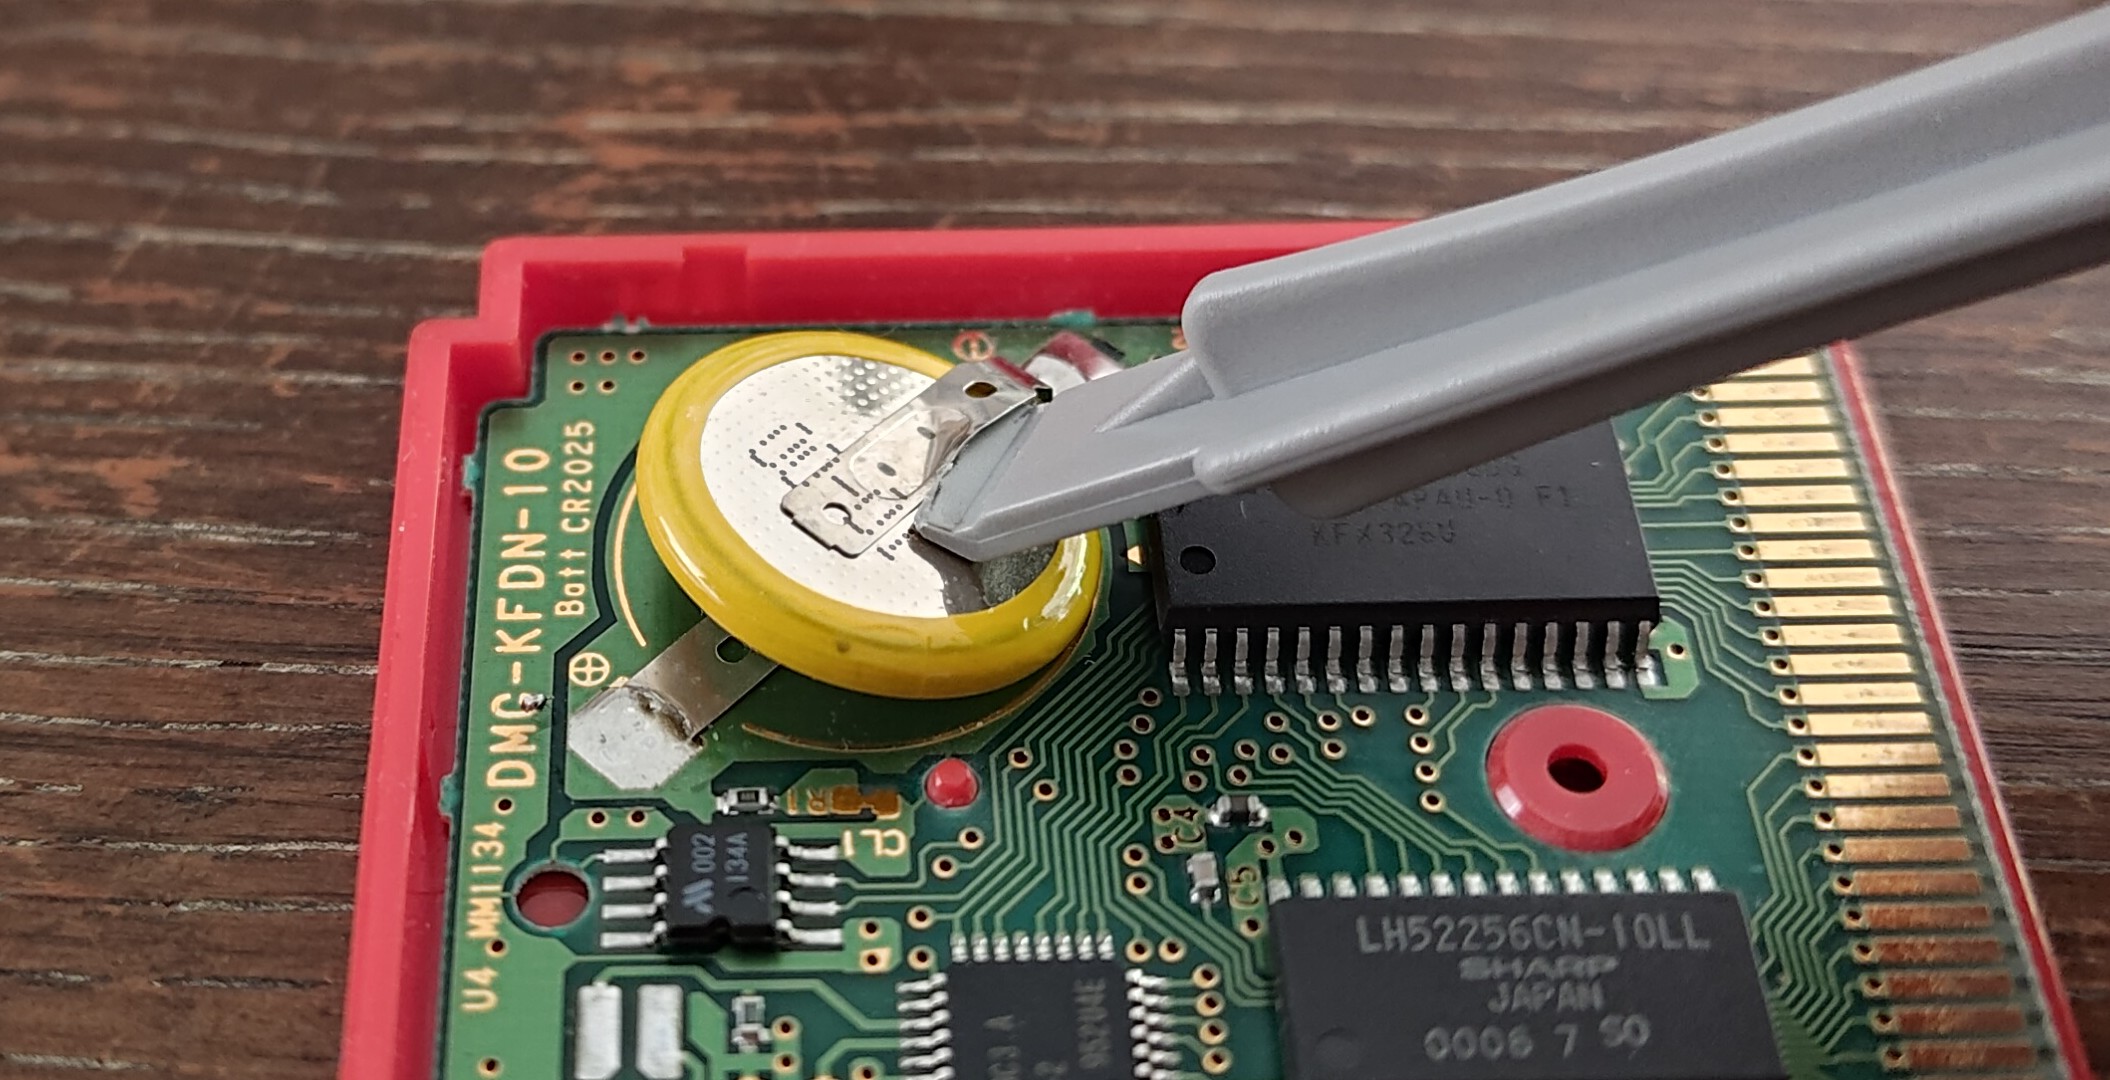
I have at least matured since the last time I did this in that this time I'm using a fairly soft plastic pry tool rather than a fairly sharp metal screwdriver. It has rather destroyed the tool, but hey, once you've done it once to a cartridge you never have to do it again!
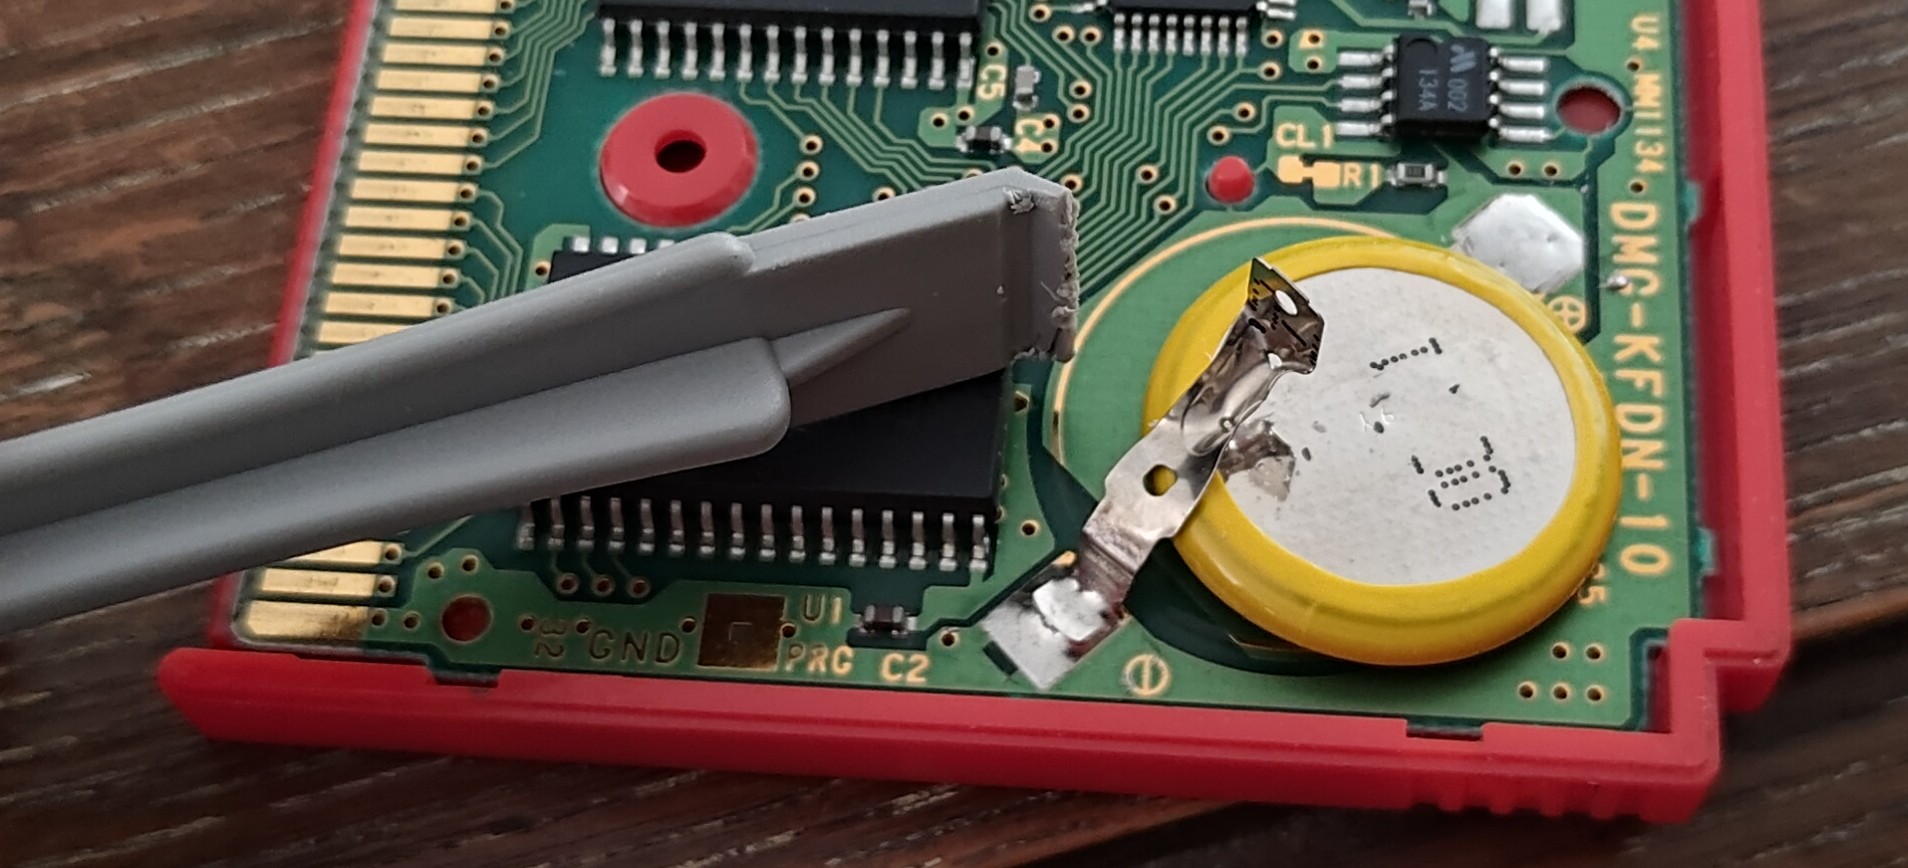
I had to grab my little pliers to flatten the tab again, but it still works.
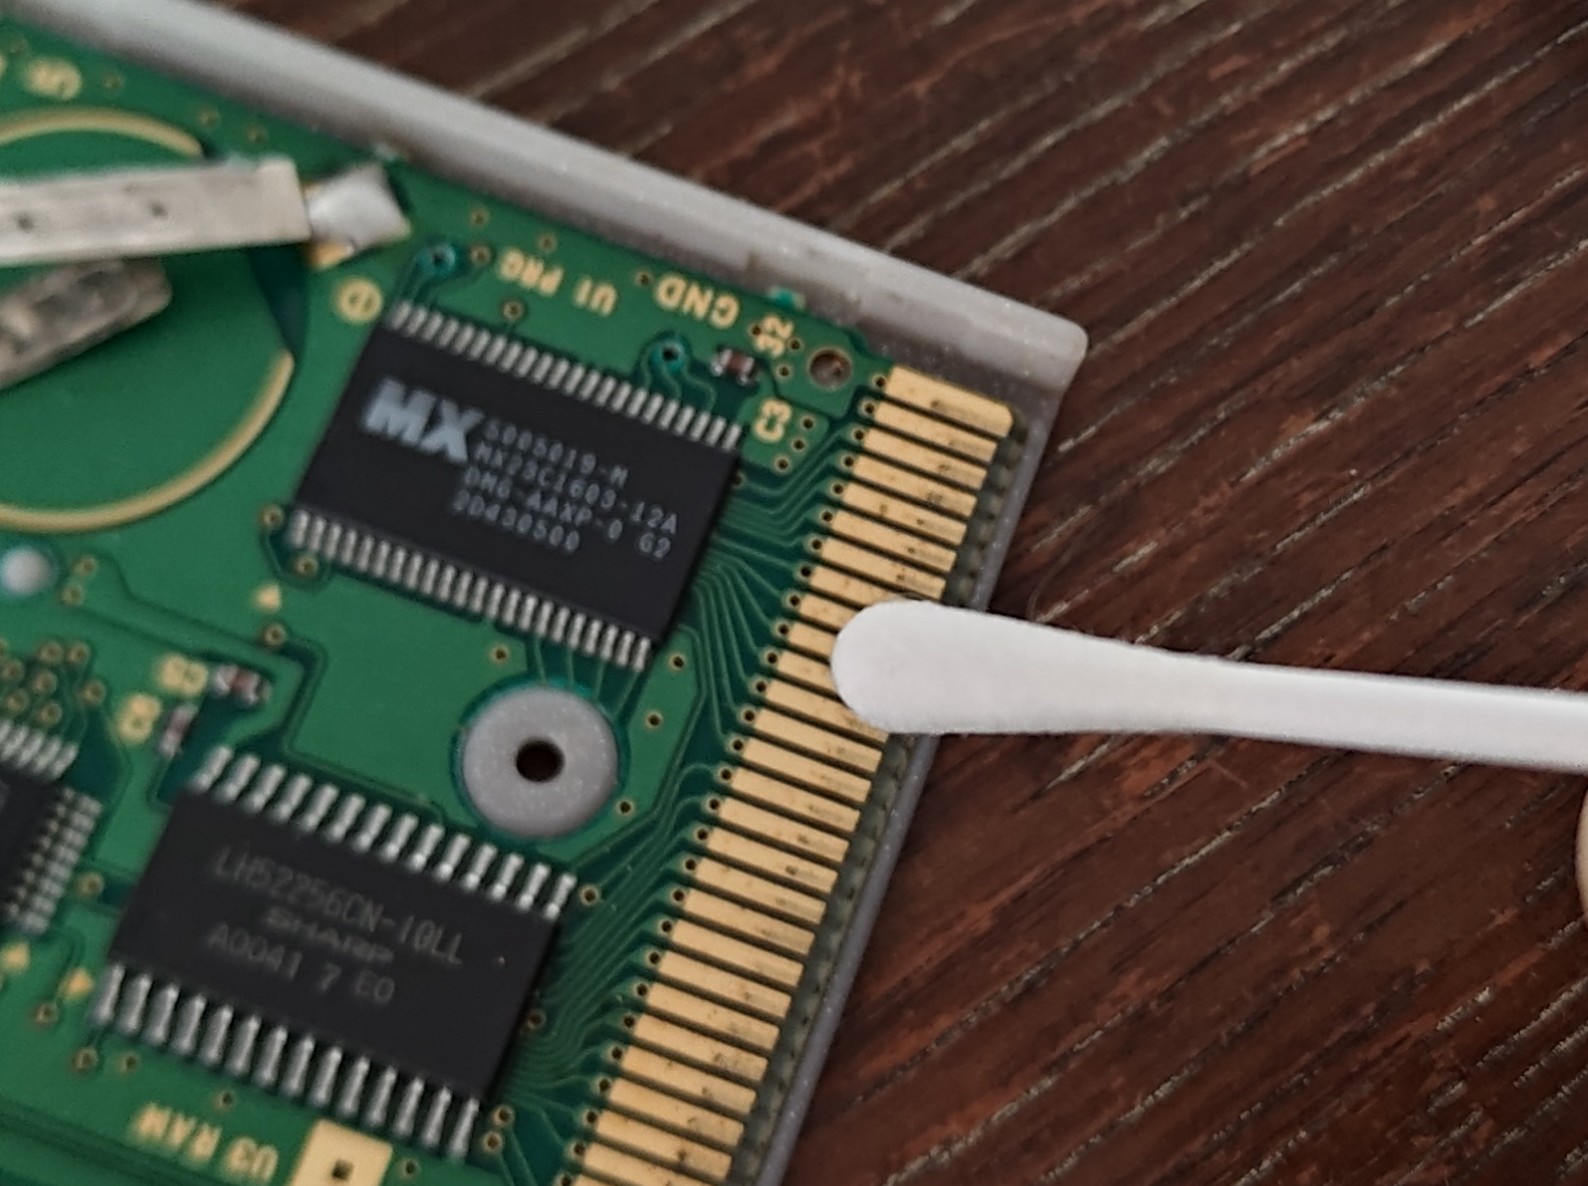
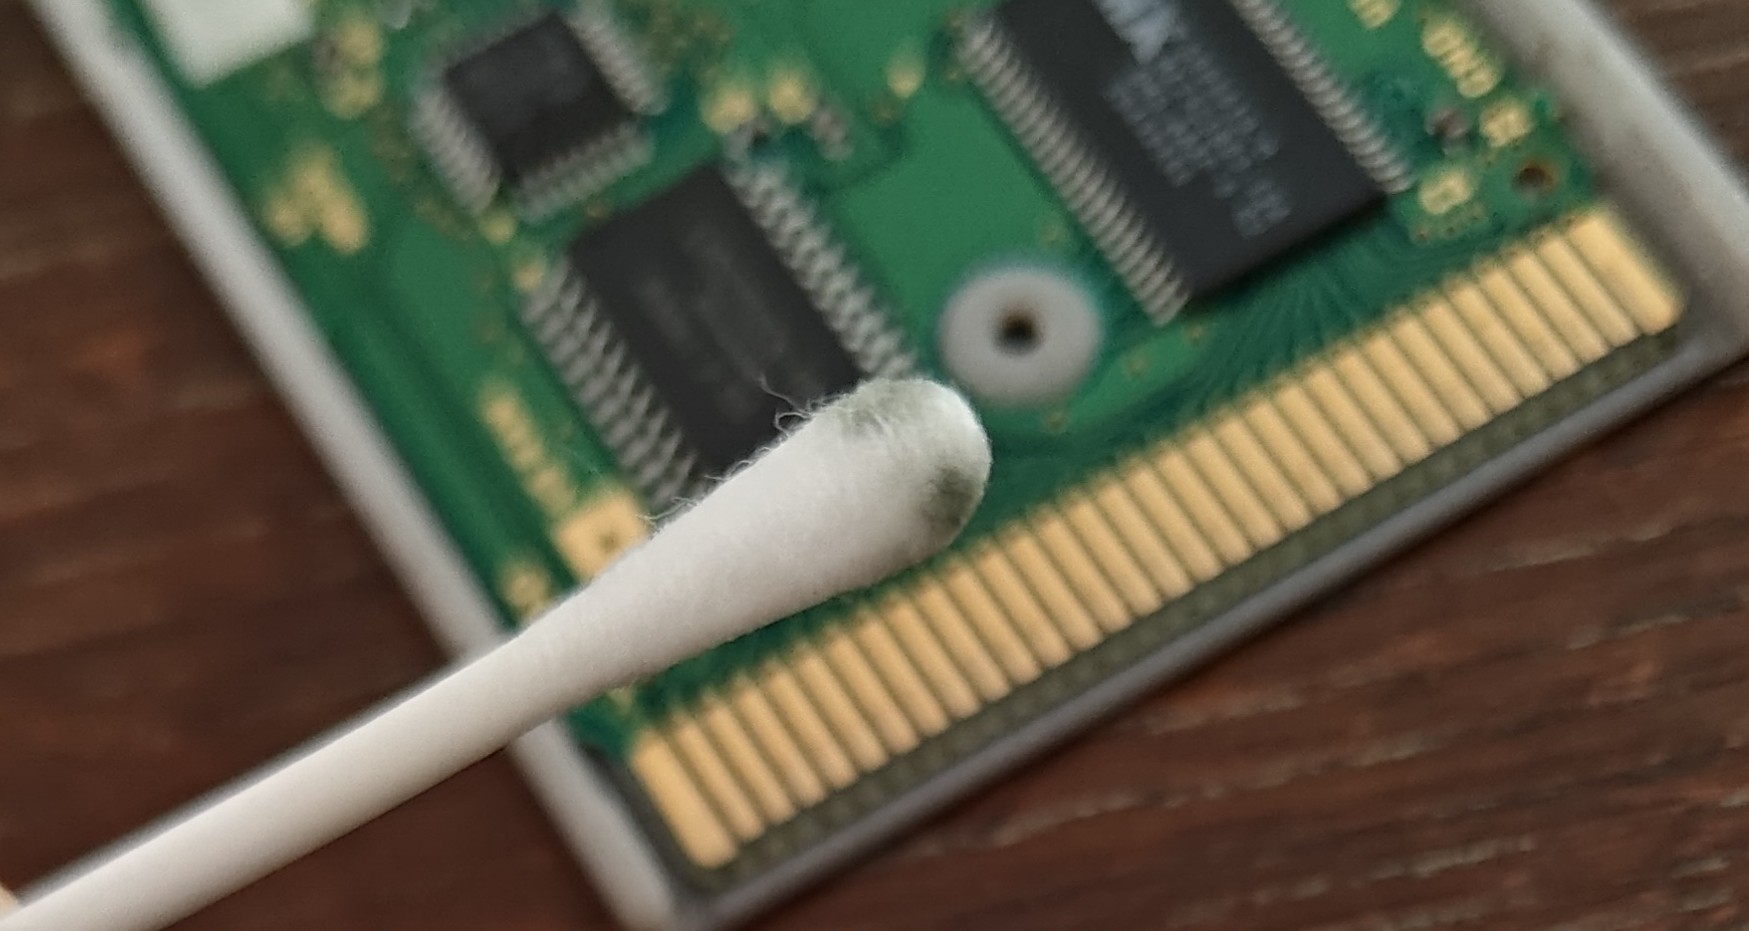
The connector part didn't look too bad, but I gave it a clean anyway. Surprising how gross the cotton bud still got.

Good as new!
I forgot to take a photo of the new battery in situ, and I didn't bother taking photos for Blue's battery replacement, and I forgot to clean the connector bits for Blue, but it still works. So that's that. Sadly I ran out of batteries, so Gold will have to wait until I can get more.
Then I can be a Pokémon master again!